About Me:

I am a professional Pet Groomer. I have been grooming for 28 years. This Blog is a kind of diary of my work. I wish I had started years ago, writing some of the experiences I have had while grooming. Most days are fun, some can be sad, some can be just down right crazy. If you are a pet owner and come across this blog, I hope it helps you understand how your pet is groomed. If you are a Pet Groomer, I hope you can relate to some of the stories. Maybe even learn a grooming tip or can leave a friendly grooming tip for me. There is always something to learn, no matter how long you have been grooming.

Wednesday, July 10, 2013

Bow-Ties For Dog Collars

I like crafting.

I don't find a lot of time for it anymore, but I have been wanting to make something for the dogs.

I like bows, but I don't fool with them much except for Holidays, or if a customer asks for them.
We put Christmas bandannas on dogs at Christmas time, but I am not crazy about them.
I wanted something that I could put on the dogs collar.
I wanted something cute for male dogs.

So, I decided to make Bow-Ties.


Here is a step-by-step on how I made them.

What you need:

1½ inch Ribbon or 7/8 inch Ribbon
5/8 Ribbon
Glue Gun
Small Hair Bands
Ruler

 For large bow-Ties I used the 1½ inch ribbon.


 Step 1: measure and cut a 10 inch piece of ribbon.


 Step 2: Fold the ribbon in half and make a crease at the fold.


 Step 3: Unfold the ribbon and lay out flat with the design side on the bottom.
Make sure you can still see the fold line. 


 Step 4: Take your glue gun and put a few dots of hot glue along the right side of the fold line.


 Step5: You do not need a lot of glue.


 Step 6: Take the right end of the ribbon and bring the end over to the fold line.


 Step 7: Press the end of the ribbon down onto the glue. Then repeat with the other end of the ribbon.


 Both ends of the ribbon should meet in the middle.


 Press the ends firmly to the hot glue until cool.


 This is what the ribbon should look like so far.


 Step 8: Pick up the ribbon and fold the middle in half, lengthwise. Fold with the meeting ends on the inside of the fold.


 Step 9: Put a dot of hot glue only in the back of the fold and hold. You want to be able to lift up the front edges of the ribbon. 


 Step 10: Turn the bow over. This is what the front of the bow should look like at this point.


 Step 11: Take hold of the top edge (over the middle fold) and fold backwards towards the front of the bow.


 This is what this fold should look like.


  Step 12: Put a dot of hot glue in this fold.


  Step 13: Hold till glue cools.


 This is what the bow looks like now.


 Step 14: Repeat the last step with the other edge of the ribbon.
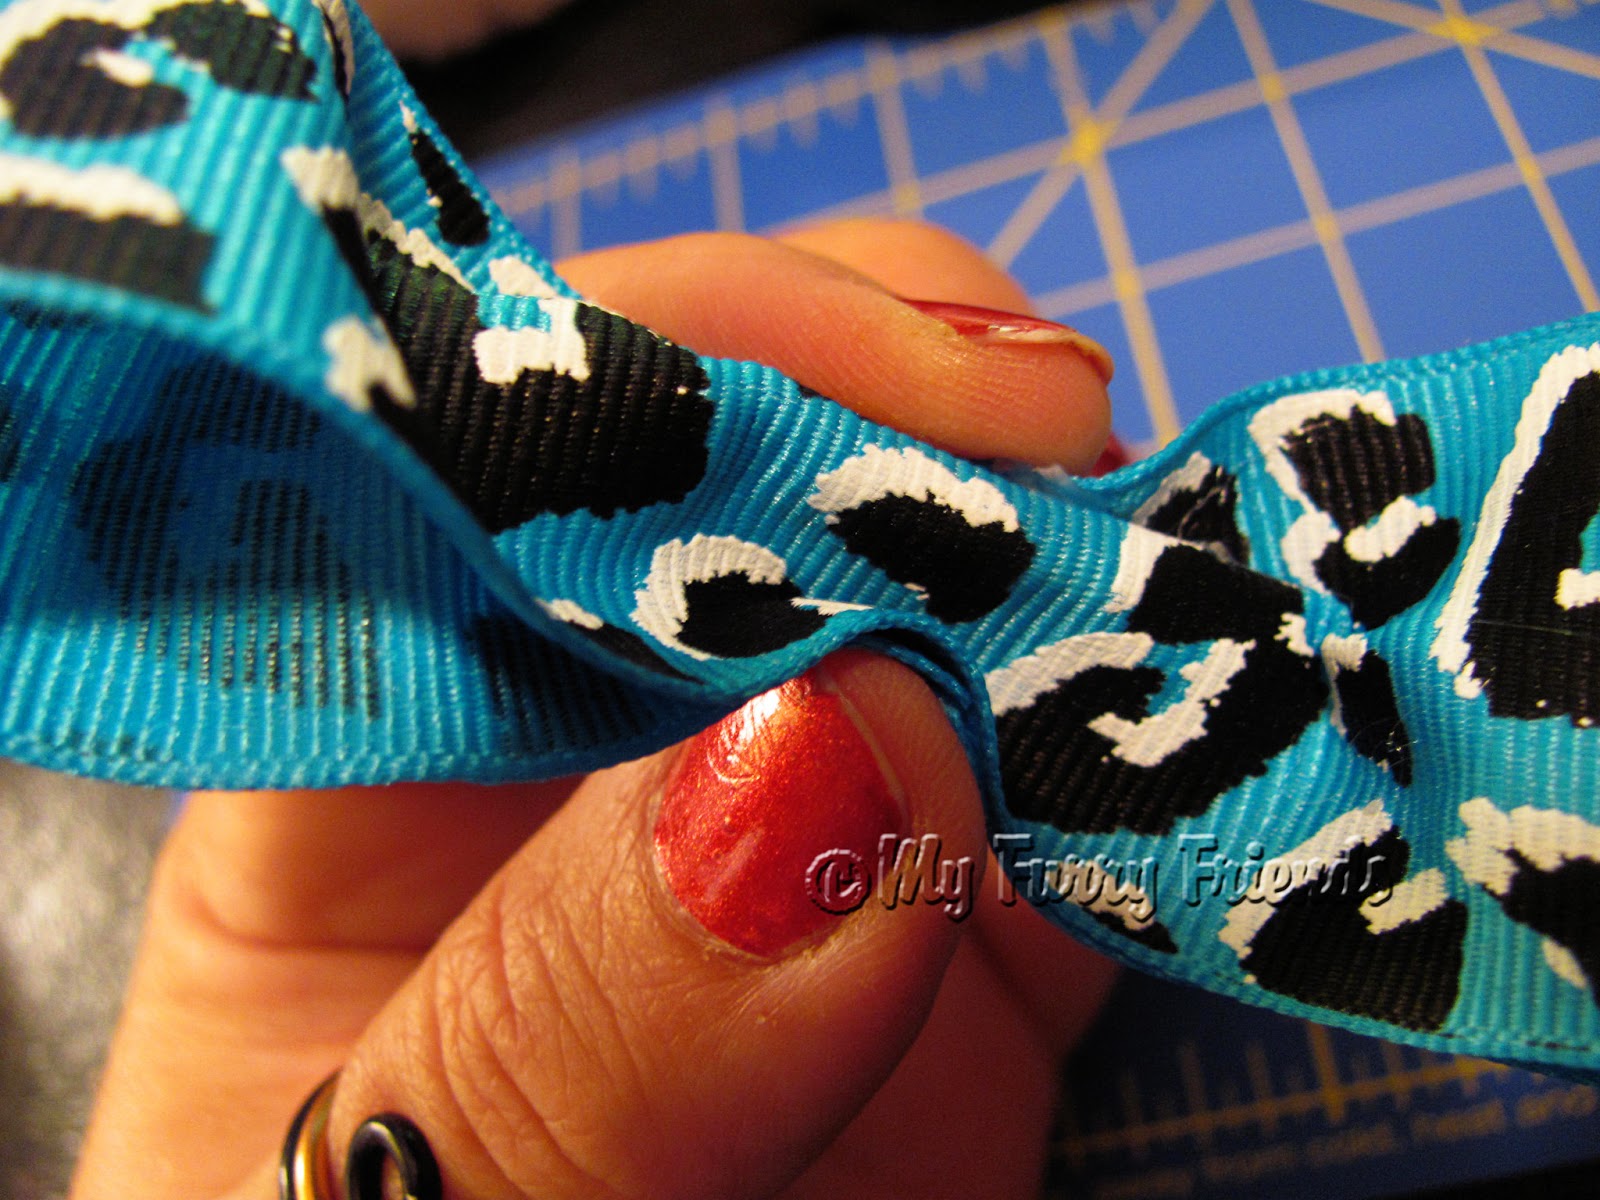


 This is what the bow looks like now. (Don't worry about some of the glue showing, it will be covered up in the next steps.


 For the next few steps you will need the 5/8 ribbon and a hair band.
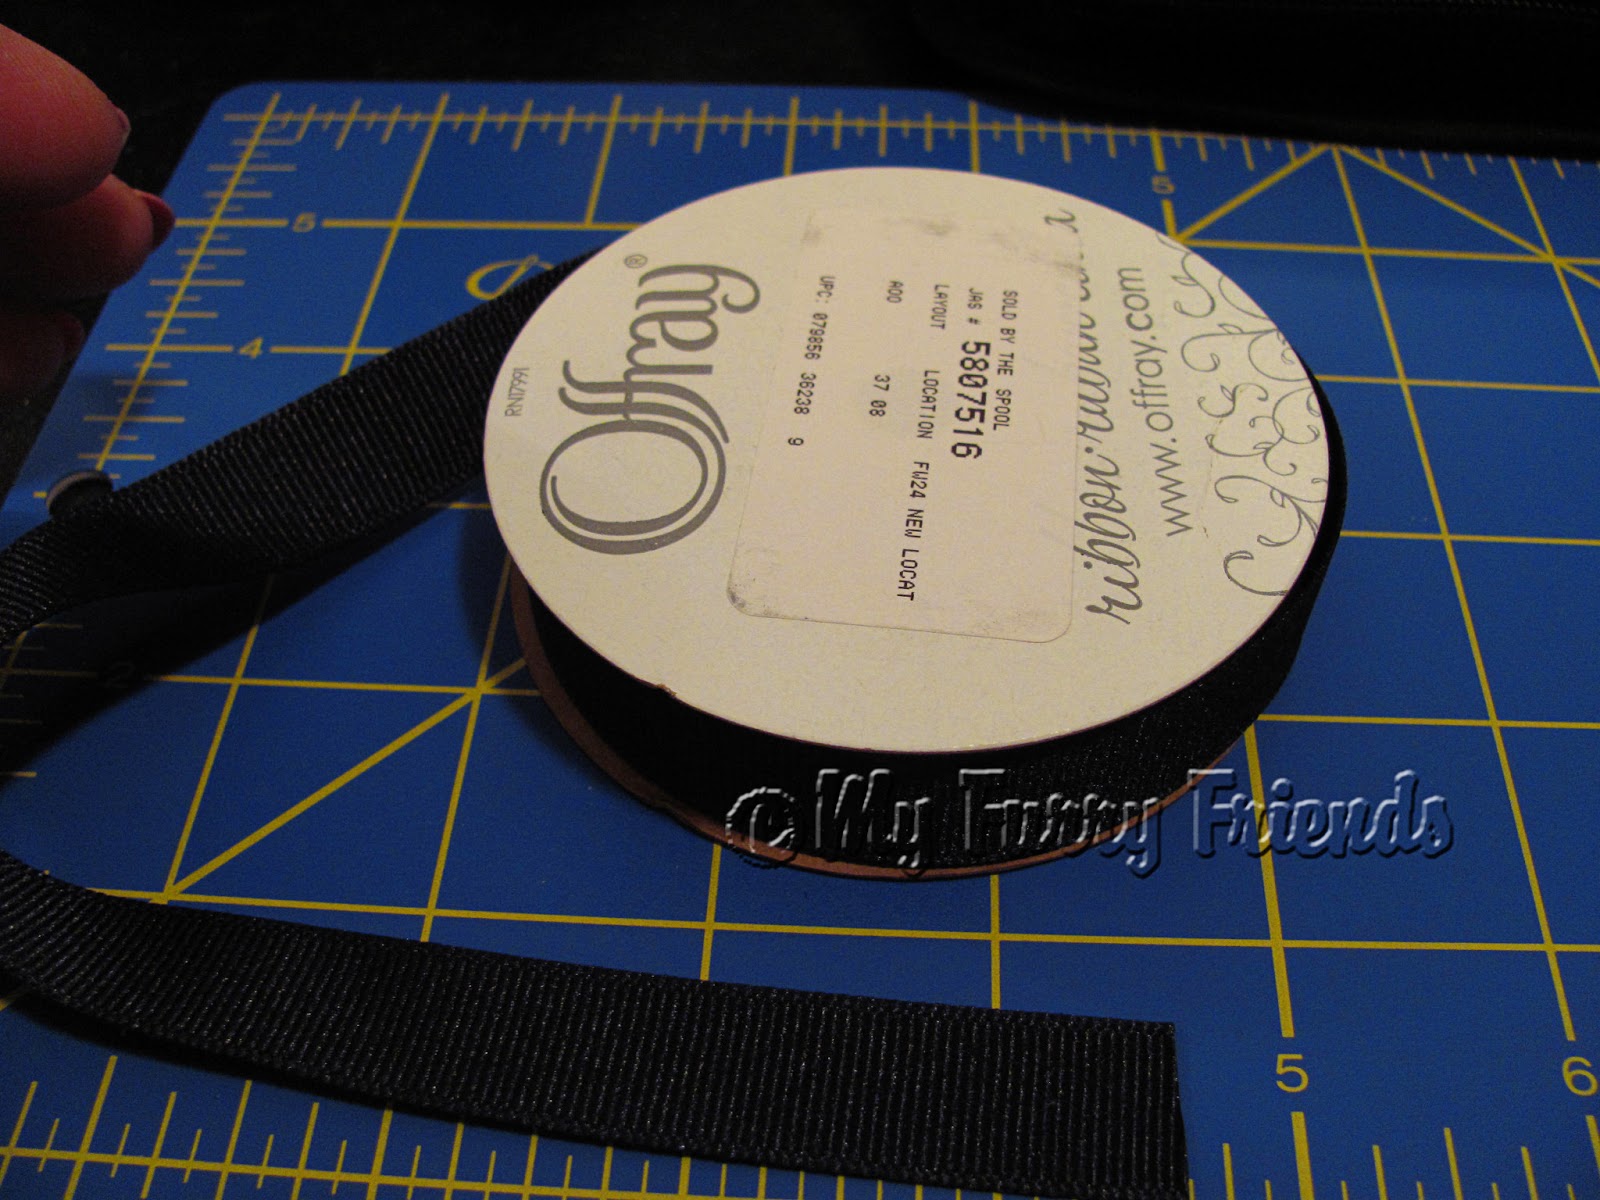


 Step 15: Cut a piece of 5/8 ribbon a little more than 2 inches long.


 Step 16: Place a dot of hot glue on the top edge of the middle of the bow-tie and press one edge of the 5/8 ribbon to it.
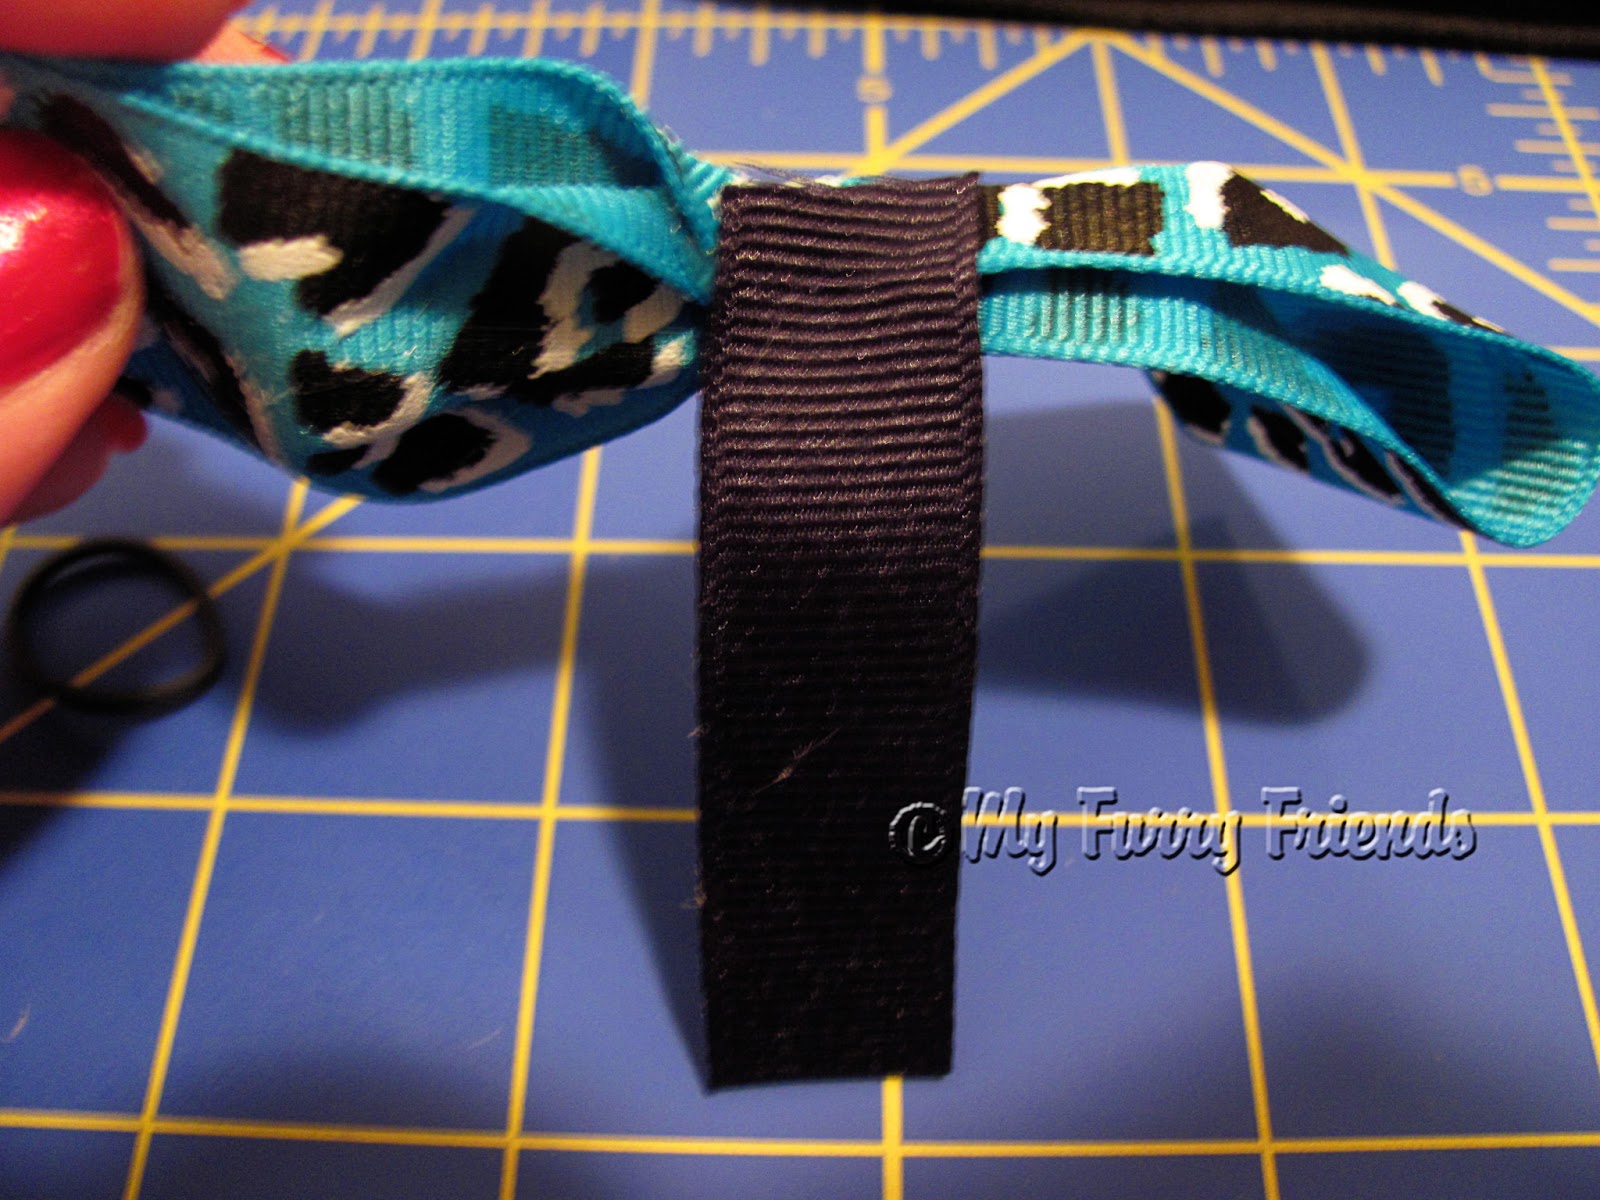


 Step 17: Slide a hair band down the piece of 5/8 ribbon.


 Step 18: Continue to wrap the 5/8 ribbon around the middle of the bow-tie. (Make sure the end of the ribbon stops at the back of the bow-tie)


 This is what the bow-tie will look like with the hair band on the back.


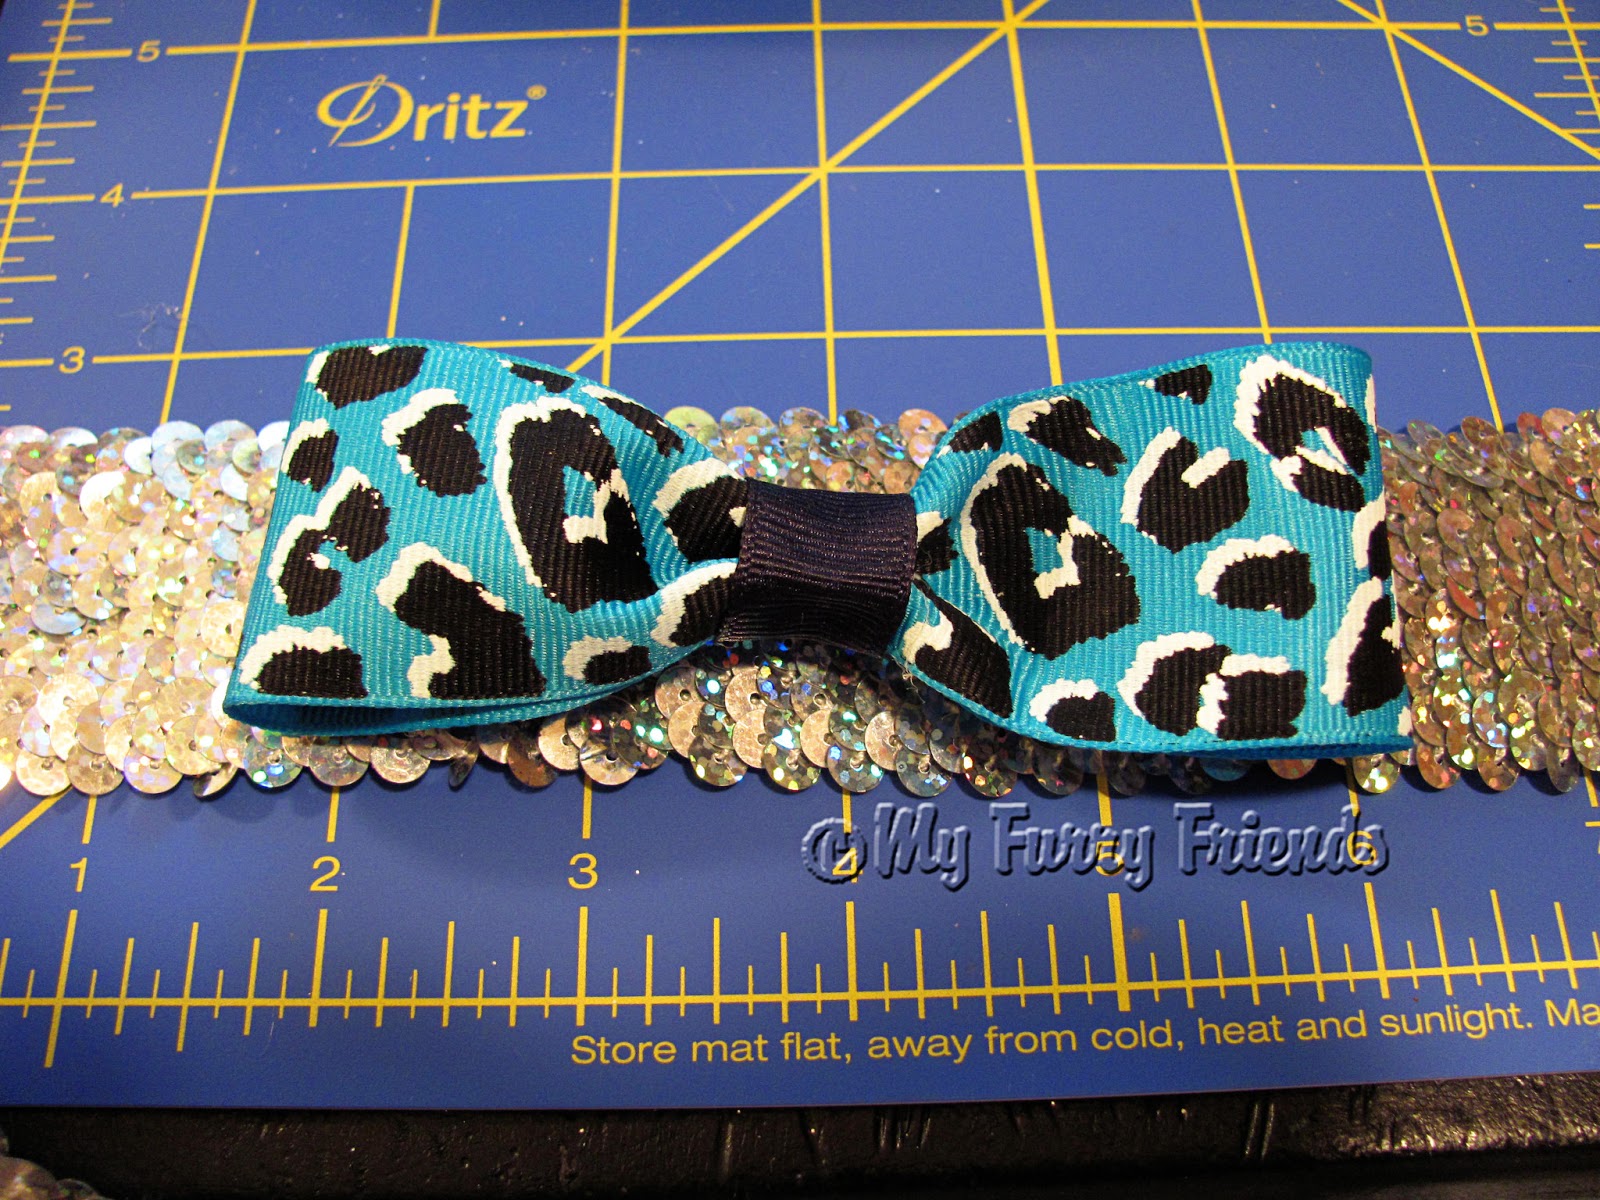
 This is your finished Bow-Tie.
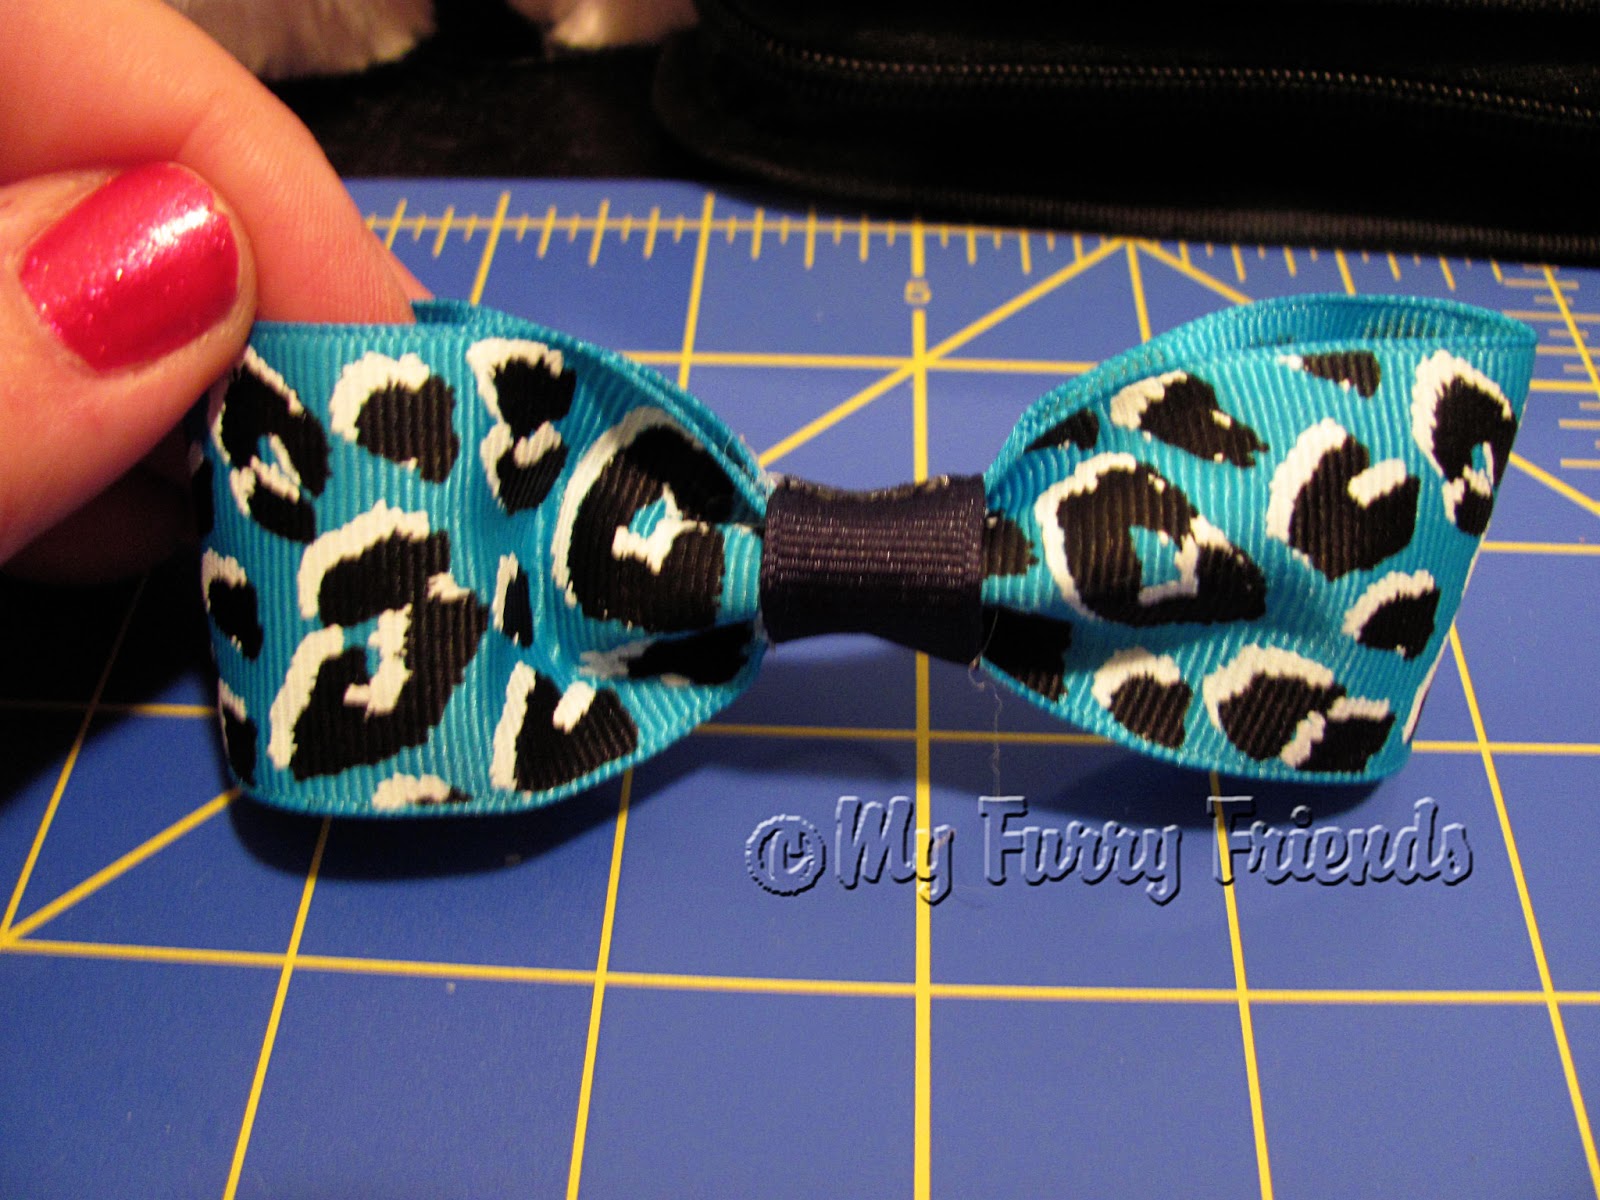


 I used the 1½ inch ribbon to make the lager Bow-Ties, and the 7/8 ribbon to make the smaller Bow-Ties.


 The smaller Bow-Ties were made with an 8 inch length of ribbon.


I can put these Bow-Ties directly on a dogs collar, or for dogs that come in without collars I will sew the Bow-Tie to a piece of fancy ribbon.


I use KAMsnaps on elastic ribbon for safety.
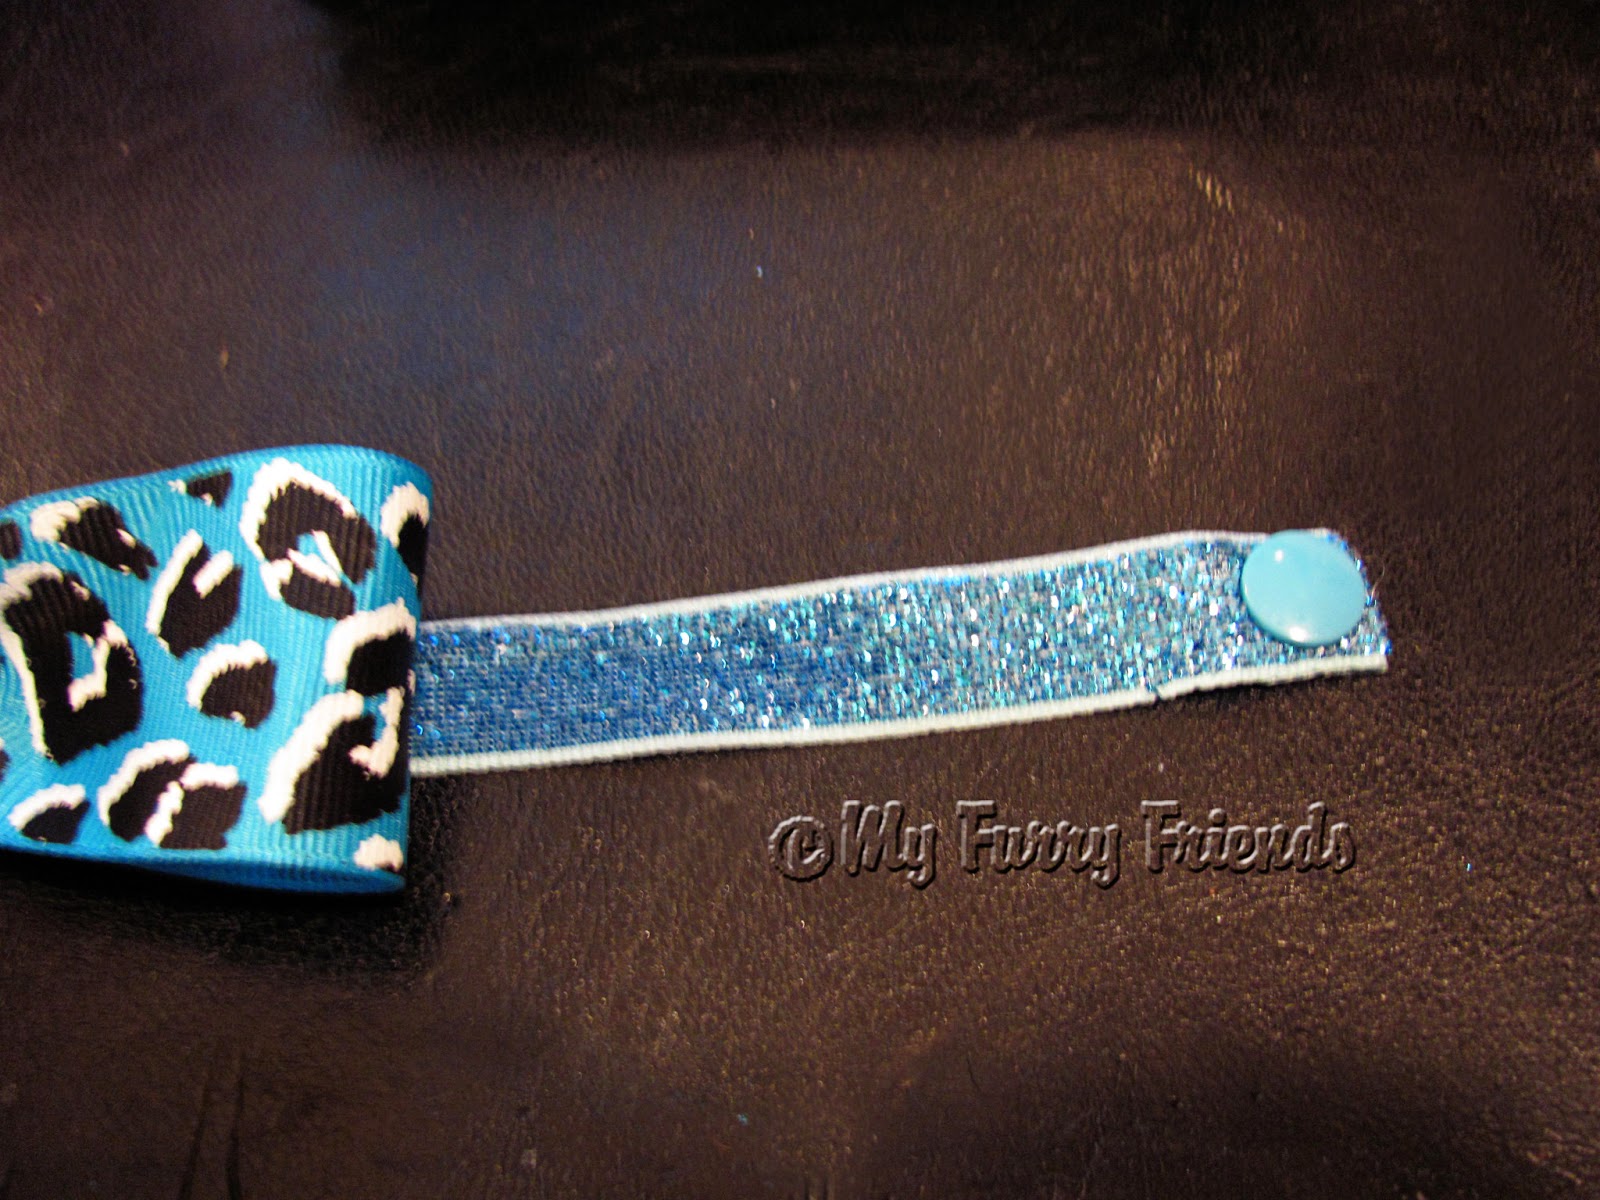


This way, if the ribbon got caught on something the dog will be able to easily pull away and get the deco collar off his/her neck.
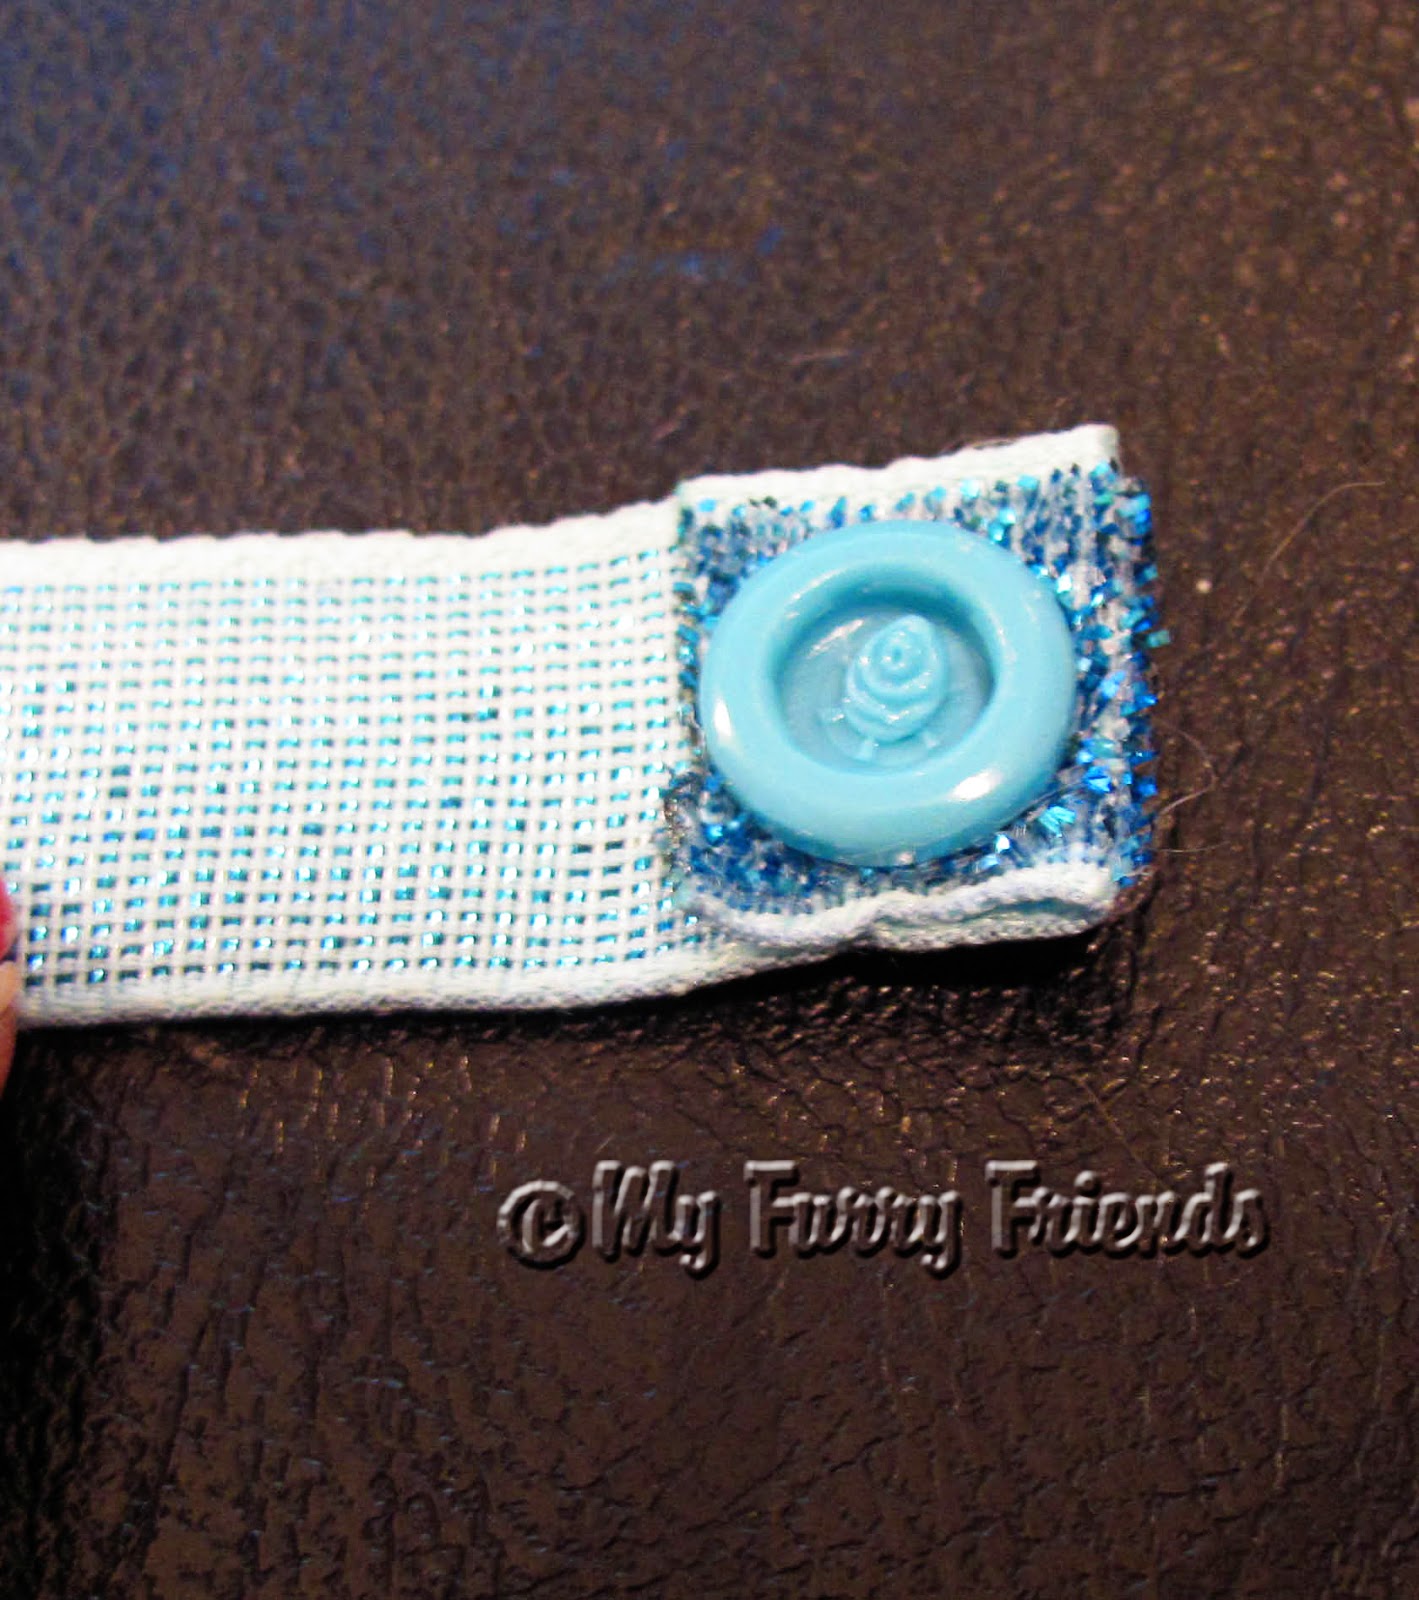


I will also attach the Bow-Ties to some bling (stretch ribbon) in different sizes and colors.


Don't pay attention to the groomers dog, who needs a grooming. Just look at the Bow-Tie. :)
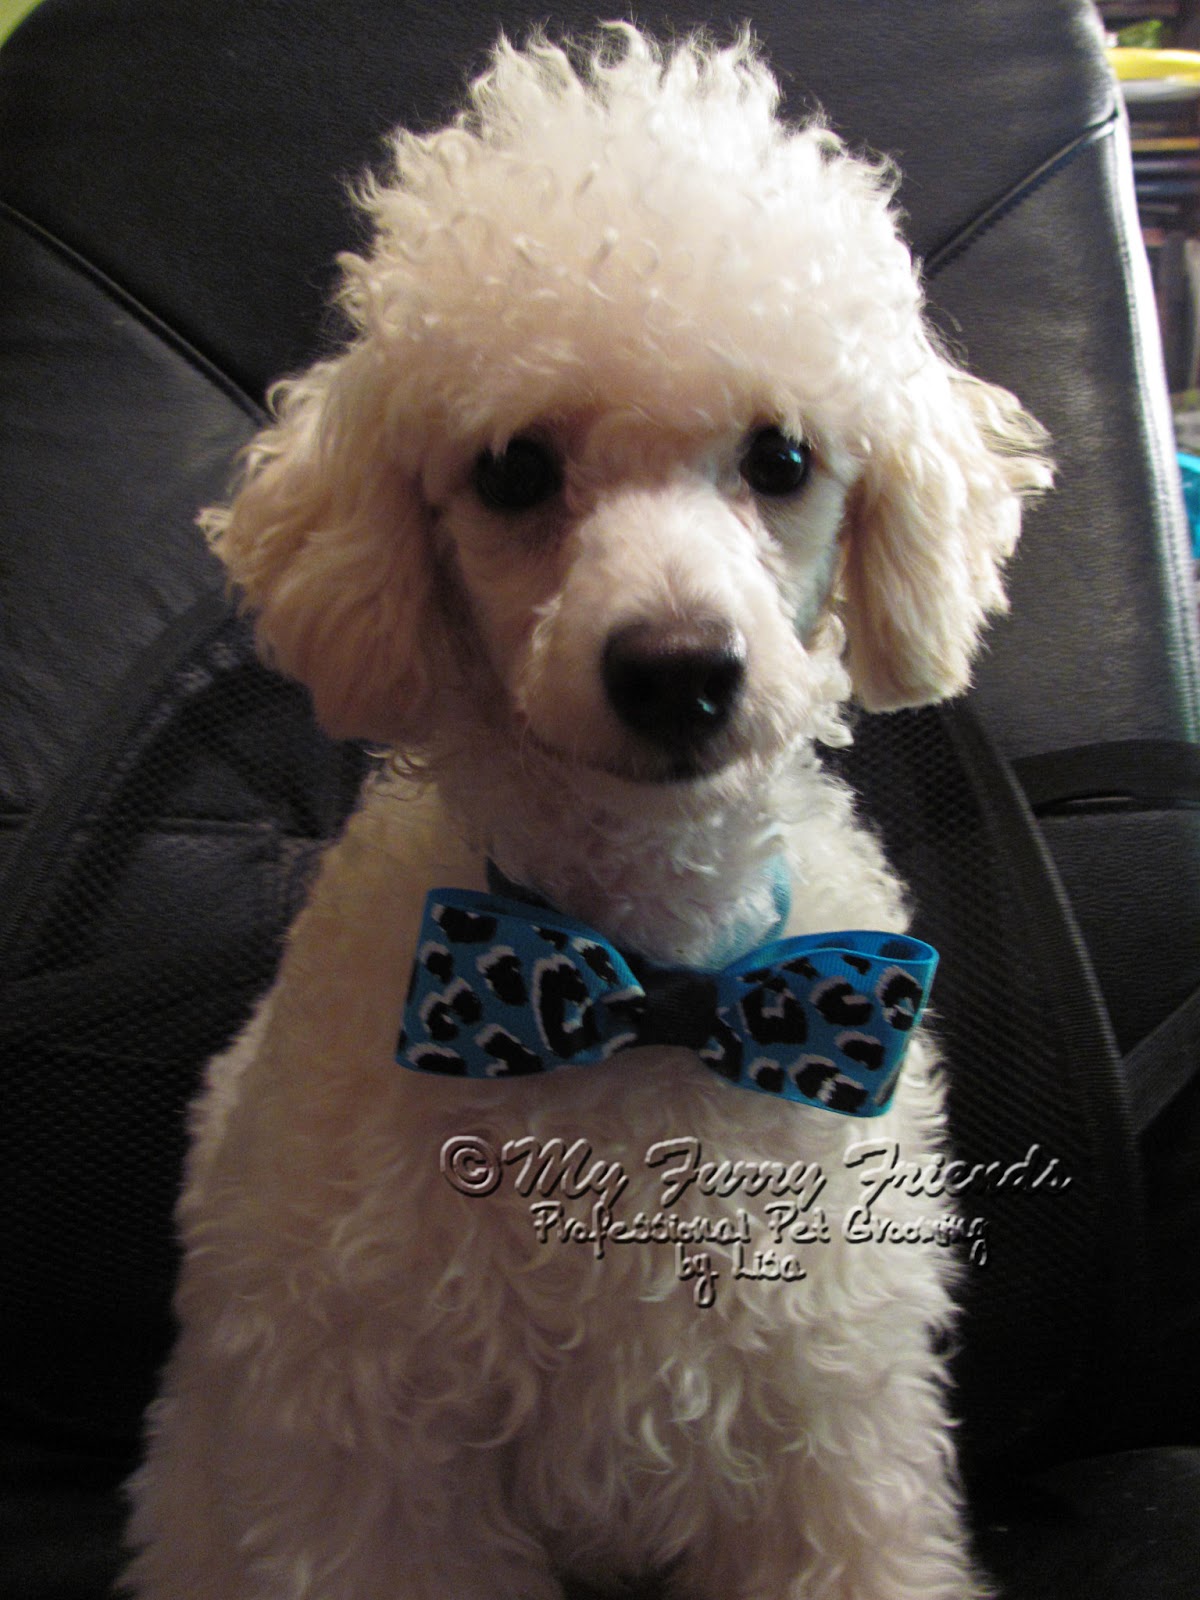


Have fun crafting!!

Happy Grooming, MFF

Tuesday, July 9, 2013

Tuesdays Tip #53....Quick Blade Clean

This tip is probably more helpful for new groomers.
****

Have you ever been clipping a dog and suddenly you are getting an uneven clip, or your blade stops cutting?


More than likely your blades teeth are clogged up with hair.

Even this little bit of hair will cause the blade not to give a nice smooth cut.


 For a quick clean up of your blade, have a tooth brush handy.

The brush that I have pictured is a denture tooth brush that I got at the dollar store.

I like it for the large and smaller pointy brush.

That little rubber pick on the bottom comes in handy too sometimes.


Make sure that you only brush the hair out of the teeth in one direction...away from the cutting teeth under the guide teeth.

If you brush the other direction, the bristles on the brush will get caught up in the cutting teeth and could cause the cutting blade to dull.


Make sure that the blade is not running while you are cleaning the hair out of the teeth.

Cutting the bristles on the brush WILL dull your blade.


I once had a blade sharpener tell me this, and I looked at him as if he was crazy thinking he had to tell me that, but he told me that I would be surprised at how many groomers try to clean out their blades while they are still running.
So I thought I would mention it. :/


The smaller, pointy brush is a little firmer, and great for getting stubborn clumps of hair out.

It is also great for the blades with very long teeth like the 3¾ blade or longer.


A tooth brush is also great for cleaning out the back of 5in1 blades.


A toothbrush is an inexpensive, handy tool to help keep your blades and your clipper cleaned out quickly between more through cleanings.


I know that I haven't been blogging a lot lately.

There just don't seem to be enough hours in the day.

Lately I have been doing some crafting.
I will be posting in the next couple of days to show you what I have been doing in my spare time.

Here is a little tease.


(Flowers 70% off at JoAnn's Fabric.)

Guess what I am doing with all of these?

I'll show you over the next couple of days.


Guess what I am doing with this?

I'll show you step by step.


Stay tuned!  ☺

Happy Grooming, MFF

Tuesday, July 2, 2013

I Keep Trying.....

......Asian grooming.

I love it.


I love how cute the faces look.


So every chance I get I try to copy the Asian style.


Something I tried just for fun.

A combination of a very short muzzle with a round head.

No, I didn't leave it that way. lol

The owner had already chopped up the muzzle, so I was just playing with the groom.


Then I tried an Asian grooming on this little Yorkie because the owners wanted to keep the hair on the ears and take the face short.

It turned out okay, but I really wanted the face to be rounder.


Then I tried again with this Maltese.

I just can not get the head and face as round as I want it.


Then I tried again with this little Poodle.

I thought if I cut more from under the eyes and behind the mustache I could get that rounder look around the mouth.


Nope.

It just looked close to how I usually scissor the face.


I thought that I would try again today with this dog.

Unfortunately there were two problems.

First, the dog was only getting a bath and neaten, so I could not take much off of the face.


The second problem was, the tongue.

It is very hard to scissor, or see what you are scissoring when the dog likes to keep her mouth open and tongue hanging out. :/


I had one other dog to try on today.


Let me just say, a 4 month old puppy isn't the greatest choice to try to get a really round face.


Halfway there, but I can already tell that I have failed again.


There must be some trick that I am just not figuring out.


All this puppy wanted to do was sleep.

He could care less how I scissored his face.


Check out this facebook page:  crazy for dog

I know that this type of grooming is not for everyone, but I just love the faces.

Happy Grooming, MFF