About Me:

I am a professional Pet Groomer. I have been grooming for 28 years. This Blog is a kind of diary of my work. I wish I had started years ago, writing some of the experiences I have had while grooming. Most days are fun, some can be sad, some can be just down right crazy. If you are a pet owner and come across this blog, I hope it helps you understand how your pet is groomed. If you are a Pet Groomer, I hope you can relate to some of the stories. Maybe even learn a grooming tip or can leave a friendly grooming tip for me. There is always something to learn, no matter how long you have been grooming.

Monday, November 18, 2013

Monday Makeover #20 Well kind of....

A very long time customer of mine lost her Miniature Poodle last year.
He lived a very long life.

The Poodle that passed was black with a really good coat.
Even as he got well into his teens, the coat stayed thick and full, and was still nice to scissor.
The owner liked him groomed with the pom-poms on all four legs, a nice full topknot and poodle tail.
Also very long ears that I was never allowed to trim.

My customer got another male Miniature Poodle.
This one is a chocolate.
Unfortunately, his coat leaves something to be desired.
He has been groomed several times now, and I was really hoping that his adult coat would be better than his puppy coat.


Sadly, his coat is nothing like his predecessors.

His owner is not happy that his coat is not as nice as their other Poodle.

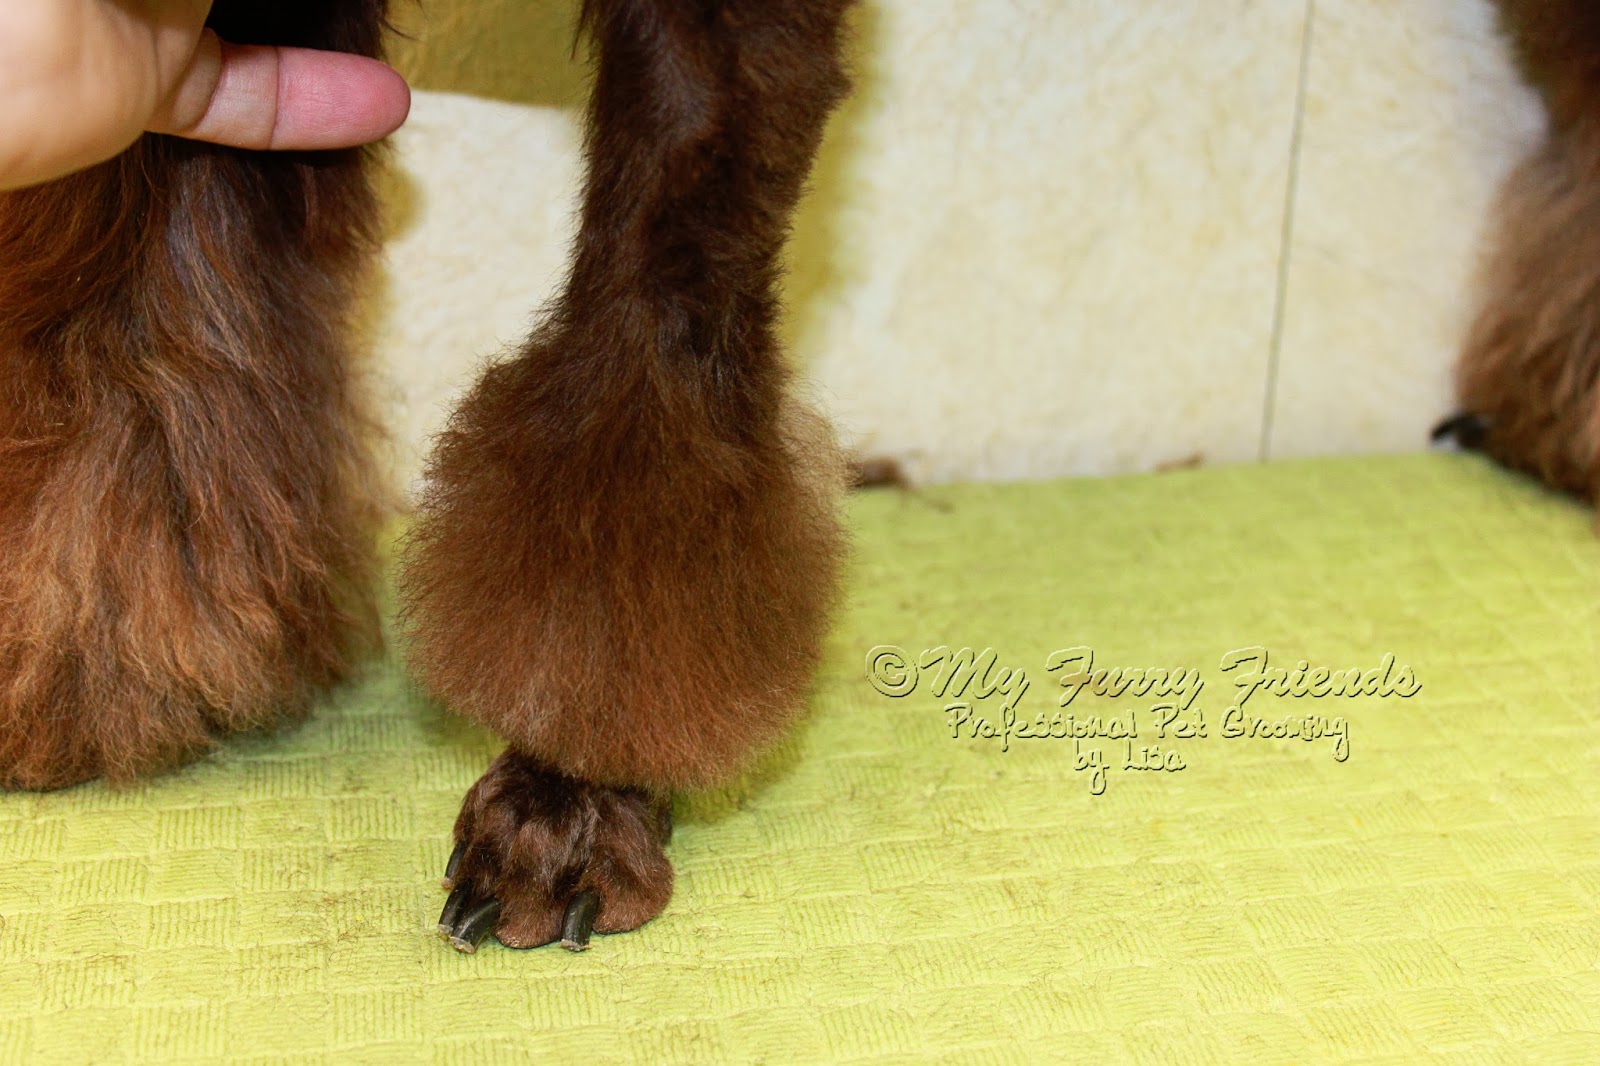
So, I have to see if I can get those pom-poms to look full.


I was hoping that a good blow dry and brush out would help.

It helped a little bit.


I had to try to make a pom-pom out of this.

The hair is so straight, fine and soft.

I needed some help.


 So ,I pulled this off of my shelf.

Chris Christensen's Thick-N-Thicker.

I do not use it very often, because the smell of it is over powering.

By the time I finished this dog, I had a heck of a headache.

It does build volume and body.
It also helps to lift the coat without making the coat sticky, or weighing it down.


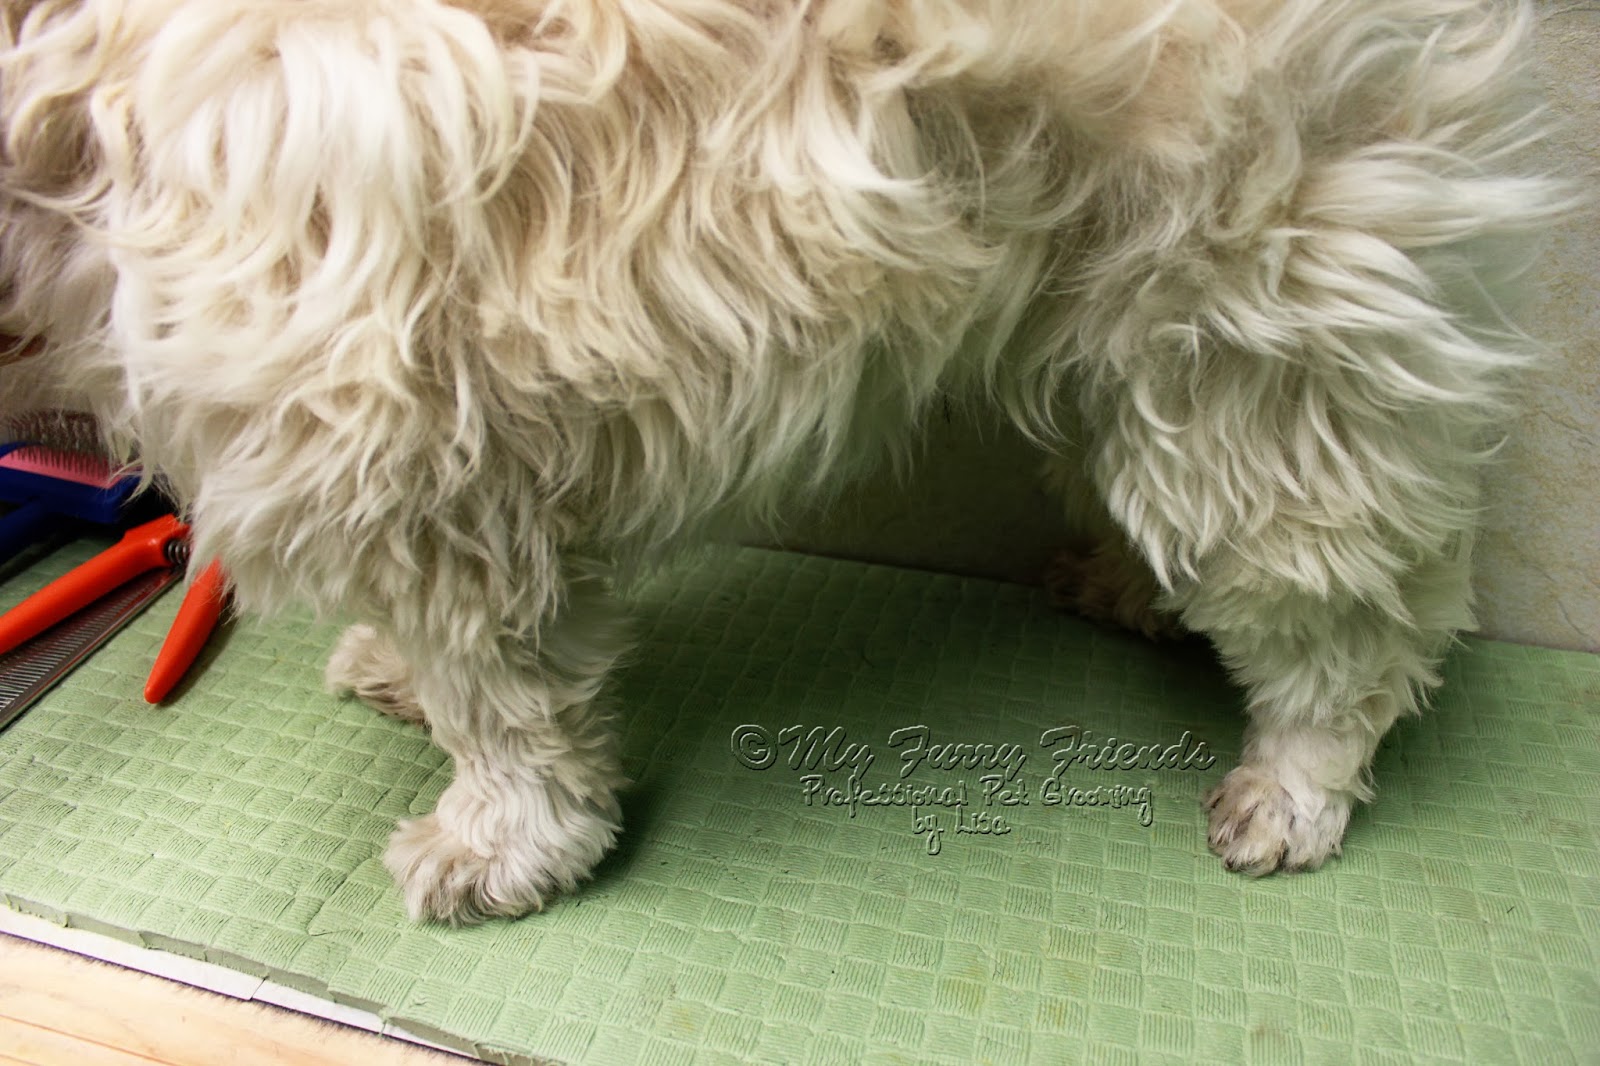
So, this went from this.......


....to this!

Okay, so it is not a major difference.


At least I have something to work with, to try get get some kind of pom-pom.


This is it.

It looks something like a pom-pom.

I sprayed the hair with Thick-N-Thicker and then blew dried the pom-pom again, brushing upwards, until the spray was dry.


I did the same with each pom-pom, only I think that someone out there really didn't want this dog to have pom-poms.

Or maybe this dog didn't want the pom-poms.

If you look closely at this pom-pom, you can see where he jerked his leg upward as I was clipping the leg.
I jerked the clipper away, but not fast enough.
I ended up clipping into the top of the pom-pom a little.


I sprayed the tail too.


Oh well....I tried.


I still think that he turned out cute.

Not sure if his owner will stick with the pom-pom cut.

That would be okay with me.

I think that he would look nice in a Lamb cut. :)


Tuesday, November 12, 2013

Tuesdays Tip #56 Cheap And Easy Christmas Extras

This is a follow up to my Christmas Extras post.

I know that a lot of groomers don't have the time, or are not into making their own bows.

Here is a quick idea if you do not have a lot of extra time to make Christmas bows.


Pre-made bows from the Dollar store.

This is a sheet of 18  (2 inch wide) bows for $1.

These could make great ear bows.


This sheet of bows are a little larger. ( 3 1/2 inches wide)

This size would be great for bow ties for small and medium sized dogs.


I would strongly suggest that you do not use these bows with the wire twist tie that they come with.


I used some pretty yarn and beads to dress up the larger bows for bow ties.


First I took the bow apart.

For the bow tie, I put aside the tail piece and just worked with the top bow.

I also discarded the twist tie.


Then I cut a piece of the pretty yarn that had some shinny garland going through it.


The piece of yarn pictured here was too long, but I was not sure exactly how much I would need at first.

It turned out that about a 6 in 7 inch piece was enough.

I needed the yarn to be long enough to wrap around the bow several times, and also leave enough yarn behind to be able to tie the bow tie to a dogs collar.


 For this bow tie I also cut a section of two mardis gras beads.

Then I wrapped the yarn around the bow and beads, tying it off at the back of the bow.

You could also just wrap the yarn with no beads and it would still look nice.

If you only want to use yarn, try other colors like silver, gold, or green.


There you go!
A quick and easy bow tie.
Just tie it to the dogs collar.


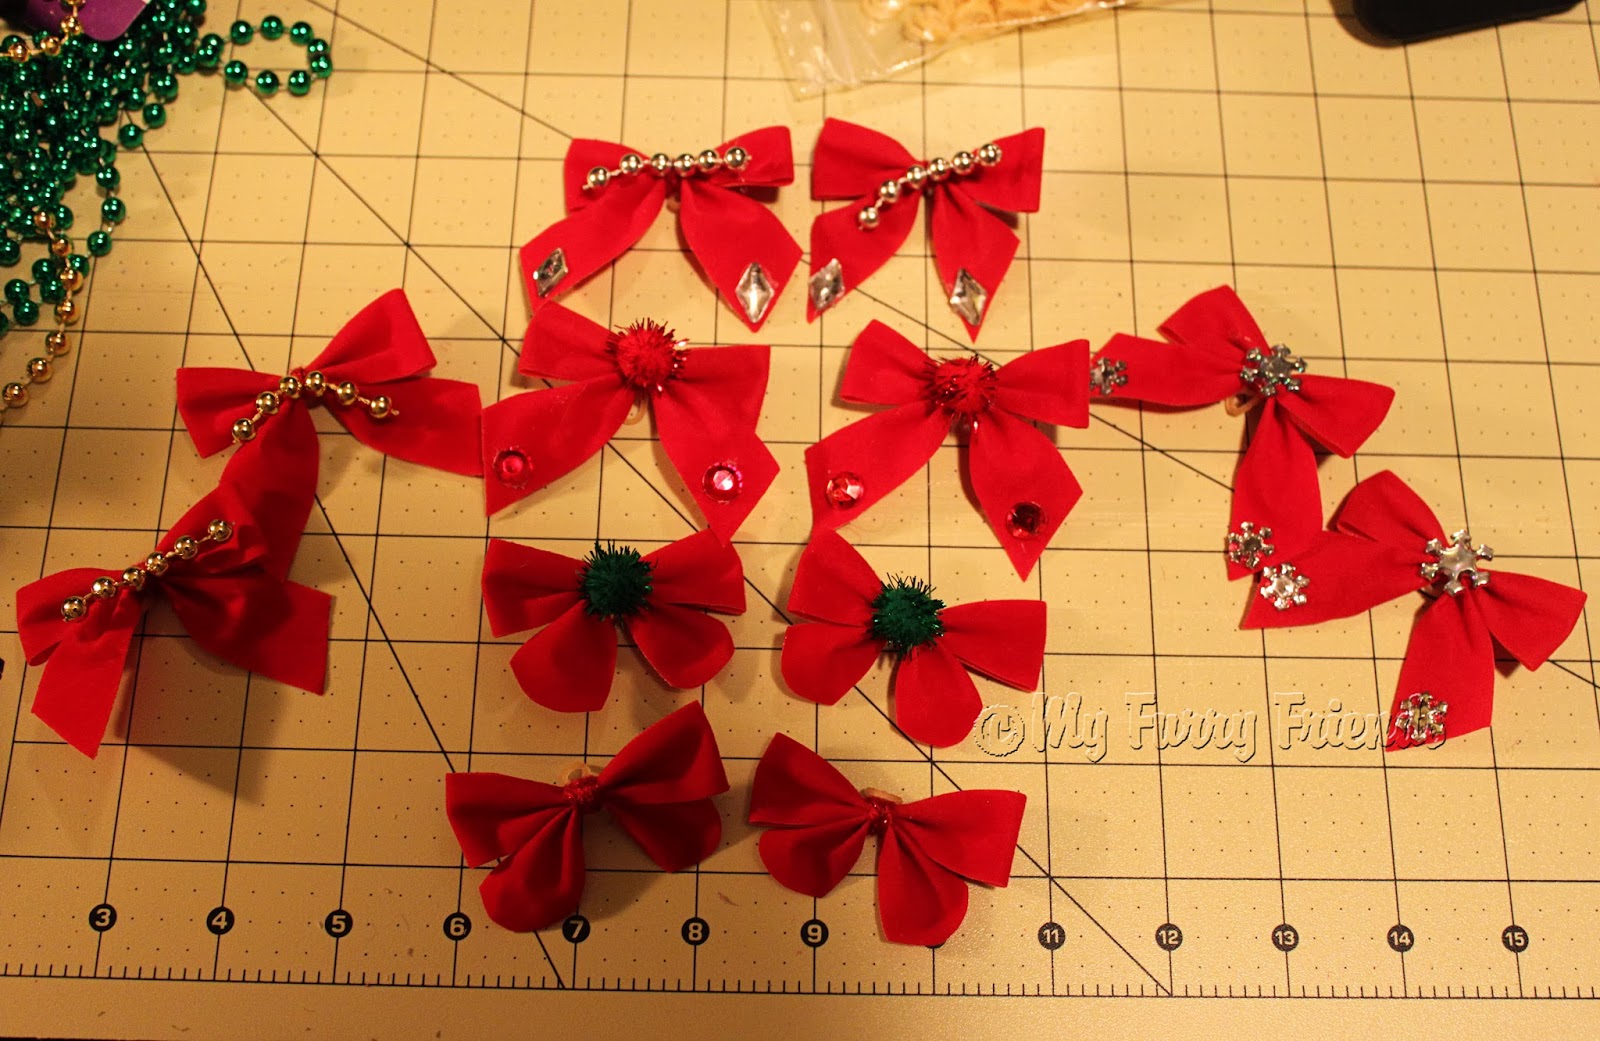
 The smaller bows, for ears, also has twist ties holding them together.


Because I want to use these in ears, I will be putting a rubber band around them.

I will also leave the tail on the bows when I put them back together.


Simply loop one end of the rubber band over the opposite end and then pull tight.

Make sure that you pull the rubber band to the back of the bow.


 I didn't want the rubber band to show on the front of the bow, so I wrapped some yarn around the bow to cover the rubber band, then tied it off in the back and cut the extra yarn off.


 I also cut the tails of the bow shorter and rounded them off.

There you go.
A very quick and simple bow.


Of course, if you want to go crazy, you can always add some bling!!!


Hope that this helps. :)


Monday, November 11, 2013

Makeover Monday #19 And.....

....a rant!

Well, maybe not really a rant, but I am about to climb up on my little old soap box. :)


This little guy came in last week.

It was his first time at our shop.

The owner had been taking him to the same grooming salon for the first few years of his life.

I groom a few of her neighbors dogs, she liked how they looked, and her neighbors had told her to come to me, but she was being loyal to the place she had been going to.
 
Good for her.

If she was happy with the job she was getting, she should stay.
I personally think that pet owners should find a groomer that they like and stick with that groomer, if at all possible, through the dogs lifetime.
I think that it helps a dog feel more comfortable about the grooming when they know their groomer and see the same person each time they are groomed, instead of hopping from one shop to another.

That being said, a pet owner should find another groomer if they are not happy with the groomer that they have been using, or if they feel the dog is not happy after its grooming.

As you can see, this owner has left her other groomer, has listened to her neighbors, and has come to try my shop out.
In this particular case, this owner did not leave her groomer because of a bad hair cut, but because she felt that she was not treated right.

For the second time this year 'the other grooming shop' called her to cancel right before she was due in for her dogs appointment.
I first time she rescheduled and let it go.
This time she knew her dog was matted and really needed the grooming.
The 'other shop' called her half an hour before her scheduled afternoon appointment.
They told her that the groomer had called out that morning.
She asked if another groomer could groomer her dog.
Other Shop: "No, you have to reschedule."
Owner: "If you can't take him today, I'll have to go someplace else."
Other Shop: "Okay, Bye."

All right, here is my first rant, pet peeve, soap box lecture....whatever you want to call it.

What did 'the other shop' do wrong?

First of all, they did what we groomers can't stand our customers doing to us, they waited till right before the customers appointment to call her and try to reschedule the appointment.
Now, I guess that there is a possibility that the groomer was not due to work till an afternoon shift, and that they only just found out the she would not be into work for the day, and they had no choice but to give the owner late notice.

The problem is, 'the other shop' went about it the wrong way.
The dogs owner said that what upset her the most was that they did not even bother to apologize to her for the late call, the inconvenience, or that they needed her to reschedule.

We are a service industry.
We rely on our customers repeat visits.
We also rely on good 'word of mouth' to increase our clientele.
As a groomer you need to have some people skills also.

I know, I know, a lot of groomers get into grooming because they love working with animals not people.
Unfortunately, there will always be a person at the end of the dogs leash.

Before I go on, please understand that I am a firm believer in the fact that 'the customer is not always right'
That being said, groomers should always make a point of doing what they can to please their customers. (within reason)

Always be kind.
Even if the pet owner is being unreasonable, be kind, take care of business in a friendly, respectful  manor.
If the pet owner was rude and disrespectful to you, you should the better person, and best of all....you don't ever have to groom that customers dog again if you don't want to.

One of the hardest things to do in this business, is to not take things that pet owners say personally.
A lot of times they say things out of frustration, or truly believe that things they say helps them get what they want.

In this case the pet owner tossed out one of my favorite comments; "I guess I'll just have to go someplace else."
Most of the time pet owners toss this comment around out of frustration, or because they think that it will make the groomer scared that they will lose the business, and in turn will give them what they want.
I am sure that this particular pet owner used this comment, because she was frustrated at the inconvenience that the groomer was causing her.

Haven't we all used comments like this at some time in our lives to get what we want?

I will admit that when a customers tells me that they will have to go elsewhere when I can't give them the appointment that they want, I am not about to bend and give them what they wanted.
That comment actually has the reverse effect on me than what the pet owner intended.
But, I am not rude.

Most importantly I do not let comments like that bother me.
My response is something like this; "I am sorry that I can't get your dog in earlier. I can put your name on my waiting list, and if someone cancels an appointment I will call you right away. That way I may be able to get you in sooner. If not, I totally understand if you have to try to get an appointment sooner someplace else. We will miss grooming (insert dogs name) this time." (all of this said respectfully and with a smile)

Most of the time, people just want to be heard, and for someone to actually pay attention to them.
Customer service s*cks now a days.
 
Of course there will be times when you get people that are just plane rude and want what they want when they want it, and no matter how nice you are to them, they are rude to you.
Be nice, because once you finish talking to them, you know an appointment will never open up for them. ;)

The groomer from the 'other shop' should have at least apologized for inconveniencing the customer, and for the late notice.
I have a feeling that this particular pet owner would most likely have accepted the apology and rescheduled her dog.
She is a very nice owner.


My next pet peeve.
Yes, I have another one. lol


 This dog was matted.

No one at 'the other shop' had ever taken the time to educate this pet owner about regular 6 week grooms, or about not bathing her dog with mats in the coat.

You could see that the owner was trying to take care of her dogs coat.

She was bathing him, and trying to brush him, although he really hates being brushed.


This dogs owner warned me that her dog did not like being brushed.
She warned me that he would bite at the brush.
She also fully expected me to shave her dog because it had mats.

That was what she was used to.
Her dogs hair got out of her control, got matted, she took it in to be shaved, and the the cycle started again, because no one had ever taken the time to educate her about regular grooms.
About bring the dog in before it became matted.
About the fact that her dog did not have to be shaved every time he got groomed if kept on a regular schedule.


The owner had been cutting mats out of her dogs legs.

Even though the legs were already short, I was going to make an attempt to keep the coat a little longer than the usual shave down that the owner was used to.


 The under belly was very tightly matted and there was no choice but to clip it with a #7F.

A #15 on the stomach.

That did not mean that the entire body needed to be shaved with the #7F also.


After a bath and HV dry, the mats moved away from the  skin far enough to get a 3 3/4F blade through the coat.


 Some of the matted areas left very thinned out areas, that even after using thinning shears, still left the coat looking a little choppy.

I could have gone over the coat with a #5F or #7F to make the coat look smooth, even with the thinned out areas, but I choose to leave the 3 3/4 length instead.

I also blended in the short areas on the legs.


The owner liked the face round, so....


....I cleaned out between the eyes.

Ran the 3 3/4F blade over the top of the head. (in the direction that the hairs grows)

Skimmed down the ears with the 3 3/4F blade, and scissored them to just below the leather.

I shaped the rest of the head in proportion with the body with scissors and thinning shears.


His owner was right, he did not like brushing.

But, with patience, I found that as long as you did not tug on a mat he was actually fine with the brushing.

He turned out to be a pleasure to groom.


Another pet peeve........ :)


Groomers that shave a dog shorter than need be, because they don't think that the pet owner deserves a longer cut on the dog, or the groomer wants to teach the  pet owner a lesson.

I once worked with a groomer that, if the dog had even one mat, (that could have easily been brushed out) would reach for a #7 blade and shave the whole dog.
"I don't do mats!" he would say.  "If they can't brush their dog, I am not going to brush it for them!"

Don't get me wrong.
There are certainly pet owners out there whose dogs should be kept very short, because the owners don't do a thing to take care of their dogs between grooms, and don't care.

There are also plenty of owners out there that will take care, or at least try to take care of their pets coat if only someone takes the time to educate them on that care.
If someone shows them that their dog can have a cute, easy to maintain, medium length cut with regular grooming.

That was what I was attempting to show this pet owner.

Did it work?

It has certainly worked with many other pet owners in the past.
Many of those pet owners are regular customers now.

The owner of the dog pictured in this post was very, very happy with her dogs groom.
She had never seen that length cut before.
She was used to getting a shaved dog back.
I explained the thinned out areas, and the blending of the short areas on the legs.
The owner was very pleased and made another appointment for 6 weeks.
She was also extremely happy that her dog was so happy and prancing around the lobby.
She said that she had never seen him that happy and perky after a groom.
She could not believe that he wanted to come back through the gate to see me again.

I was very happy that she was happy.
I have a new regular customer. :)

Okay, climbing down off of my soap box now.


Friday, November 8, 2013

Christmas Extras

I have been busy making the Christmas extras for my furry customers this Christmas.
The past few years I have cut bandanas out of Christmas material.
I have also made Christmas ear bows.

I wanted to do something  a little different this year.

 So I went shopping.


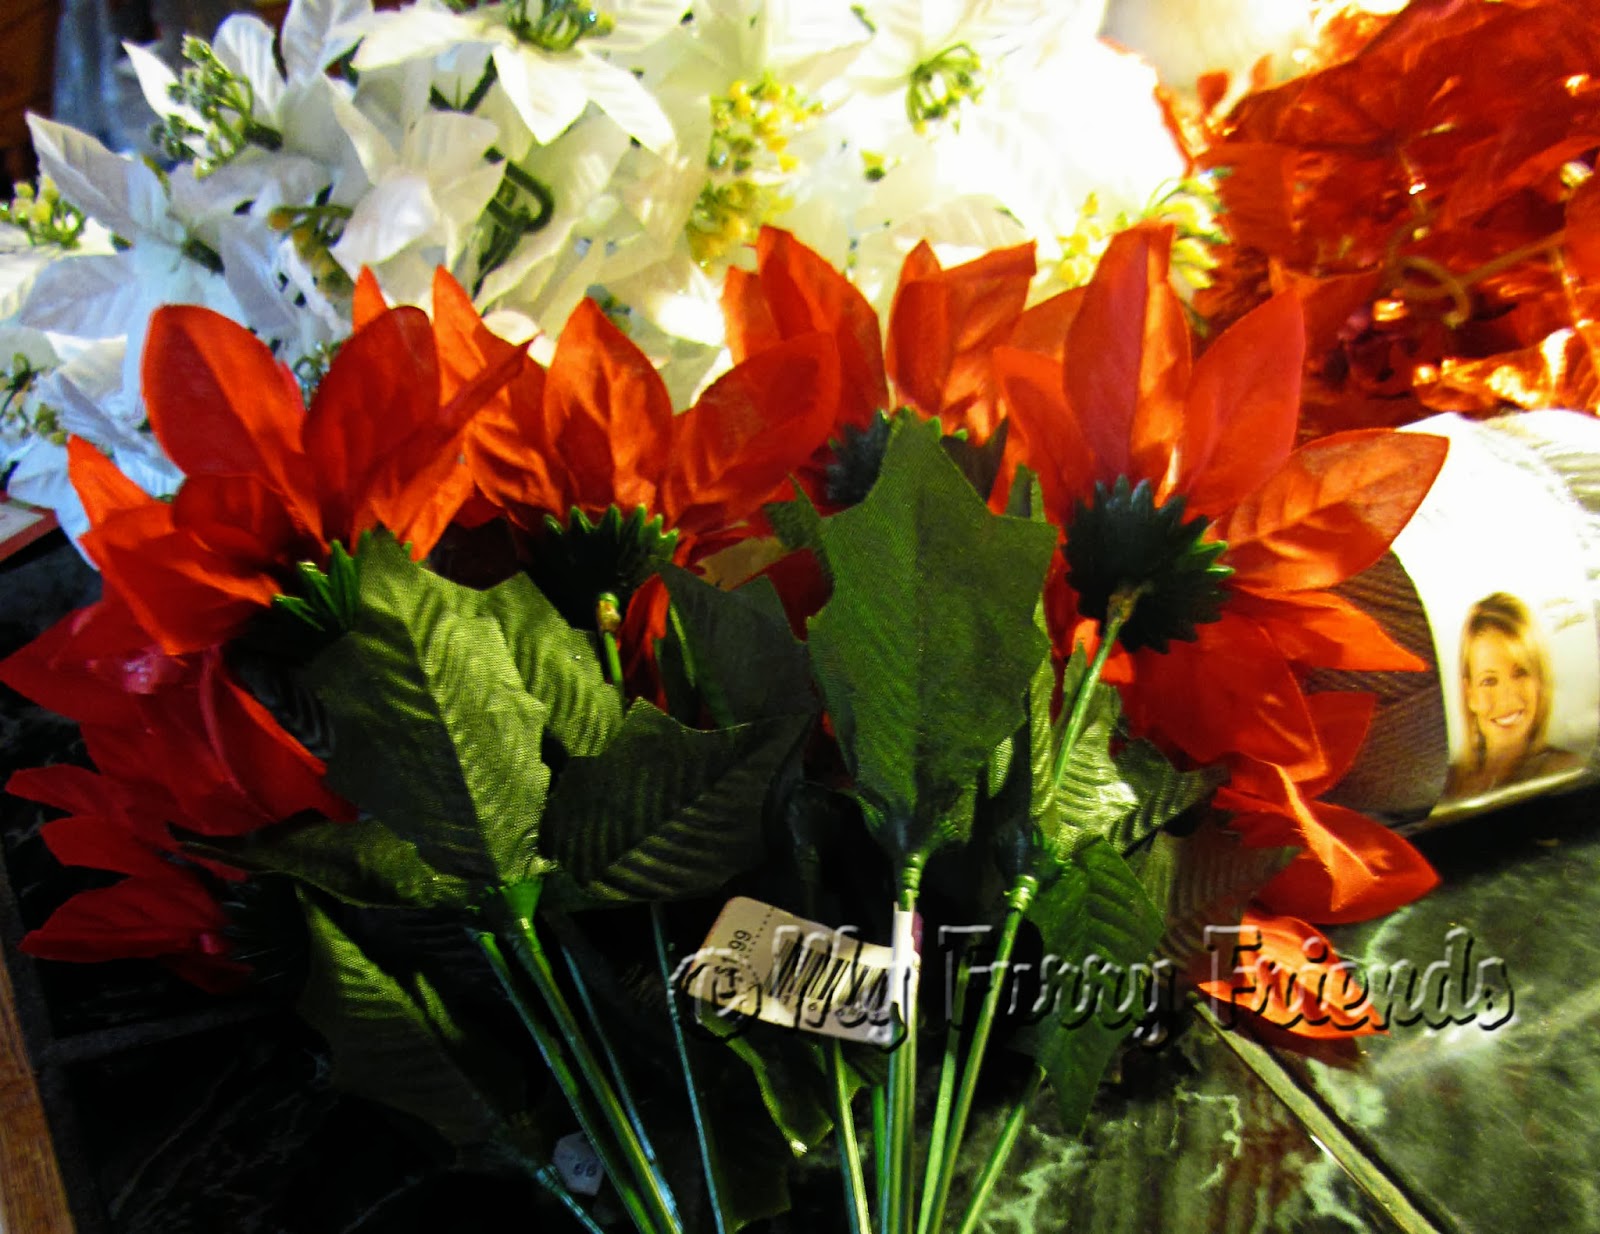
I bought poinsettias.

Red, white and silver.

I got some nice ones from The Dollar Store.

Then I found garland chains of poinsettias from Jo-Anne Fabrics.

The garland was the best buy, because they were 40% off, and there were a ton of flowers on each chain.


While at Jo-Anne Fabrics, I also bought Christmas Fabric that was on sale for 50% off.


I didn't want to make bandanas again.
I wanted something different.
I knew what I wanted to make, but I didn't want to get involved with sewing.


Then I discovered this.

Liquid Stitch.

I could make collar scrunchies without having to sew.


What are collar scrunchies?


They are tubes of material to put over collars.


You insert the collar into the tube of material.


The material is longer than the collar, so it scrunches up.


The collar scrunchies cover up dirty and/or old tattered collars.


 Cut a 5 inch by 24 inch piece of material.


Run a thin line of the Liquid Stitch along one of the 5 inch ends, on the back side of the material.


Fold the edge over to make a nice hem.

Press firmly.

This will be a little messy, because some glue will seep through the material.


The glue sticks pretty quickly, but not so fast that you can't make adjustments if you need to.

This is what the hem will look like.

Repeat on the opposite end.


After each end has been hemmed, flip the material over.

The design on the material should be showing for this step.

Place a thin strip of Liquid Stitch along one of the long edges.


Fold the opposite edge over so that the two long edges meet evenly.

Press the edges together firmly.

Do not worry if the edges do not line up perfectly.

This will be the inside seem and will not show.


 The glue needs to set for 24 hours before you move on the next step.

A yard of material makes about a dozen 5x24 collar scrunchies.


After the glue has set, it is time to turn the scrunchies right side out.

Start by flipping the edge over.


I use a long knitting needle to turn the tubes right side out so that my glued seem will be on the inside.


After I have flip the edge over, I slide the end of the knitting needle up under the flap.


Then pull the edge of the material down over the needle.


  The needle will come out the other end of the tube once all of the material has been turned right side out.


You now have a nice tube of material with a nice seem and hemmed edges.

Time to cover a collar.


Place one end of a collar in the tube of material.


Work the collar through the tube.


The material tube is longer than the collar, so you will have to scrunch up the material to feed the collar all of the way through.


This is what the collar should look like.


The 5x24 inch scrunchies will fit most small to medium size collars.
I make a few 5x32 inch scrunchies for large dog collars.

I tested these scrunchies on my dogs collar to see how long they held up.
I was a little worried about the Liquid Stitch.
I was afraid that the seem might come apart.
The seem held up great.
The scrunchie stayed nice looking for a several weeks.

I have also made flower collar bows for Christmas.


As I stated above, I bought artificial Christmas poinsettias for my collar bows.


I decided that I did not want to use rubber bands to put the flowers on the collars like I have in the past.

The rubber band has broken so many times while putting the flower on the collar, then I have to pull out another flower.

I decided to use yarn in stead of a rubber band.

I bought a neutral light gray colored yarn that had a sliver of silver running through it.

I also found a needle with a nice big eye to feed the yarn through.

I also use red, sliver and gold Mardis Gras beads.


 First step, pull the flower apart.

If there is a back stem piece to the flower, pull it off.

Then pull the inner stem out.


You want to get rid of the inside stem piece.


 If the flowers you are using has a back stem piece, (the garland flowers don't) place a couple of dabs of hot glue on the inside of the stem piece.


 Place the back stem piece back on the back of the flower.

Got that?

Make sure that you line up the holes in the flower with the hole in the stem piece.


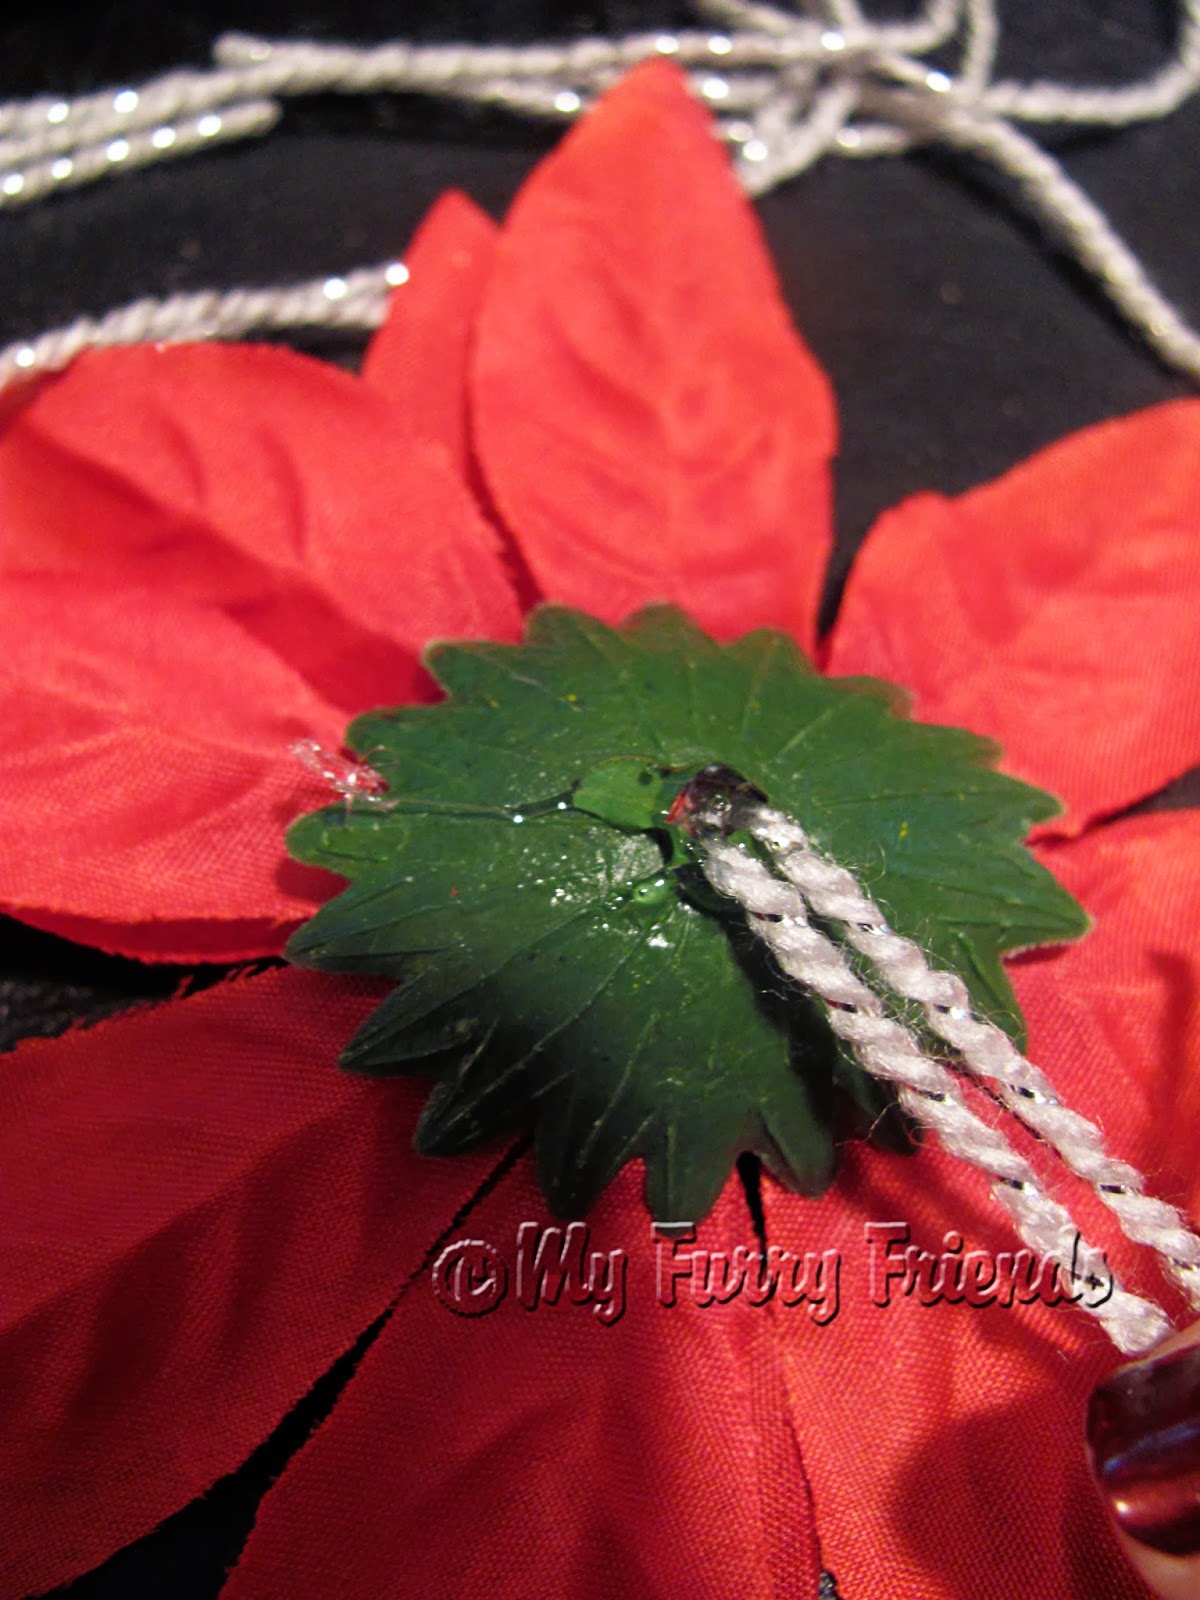
Now, feed your needle, with a 5 inch piece of yarn, up through the back of the flower.


Then feed the needle back down through the hole again until you have a loop left sticking out of the top of the flower.


 This is what the back of your flower will look like.


Go back to your loop in the front of the flower.

Take the Mardis Gras beads and place them in the loop.

You can cut two, four, or six bead pieces.

For this flower, I am using two four bead pieces crisscrossed over each other.


Once you have the beads in place, pull the loop down to lock down the beads.


 Turn the flower over and tie off the yarn with a double knot to lock the beads in.


Once the knot was tied, I placed a dab of hot glue on top of it to make sure that the yarn would stay in place.

Use the two long pieces of yarn on the back of the flower to tie it to the collar.


This is one of the flowers finished.


This flower was from the dollar store.

Each dollar bunch of flowers had about 8 to 9 flowers on it.


This is another collar flower.

I like this one better.

These were the flowers off of the garland chain from Jo-Anne Fabrics.

The flowers are better quality.

For this flower, I used one red poinsettia and one white. (I also have silver)

I also choose to use a two red bead section and a four gold bead section.


Use your imagination.
You can make so many different combinations.
The collar flower bows are very easy and fast to make once you get the hang of it.

Now, the scrunchies are great for both male and female dogs.
The flowers are great for female dogs.

I have one other thing that I made for male dogs.

SEE, this is why I have not been blogging much lately.


I have also been making Christmas Bow Ties for the male dogs.


Because these bow ties are just for the Holidays, I bought the cheaper holiday ribbon to make these.

The cheaper ribbon comes in so many holiday colors and designs.


The ribbon that I bought is wired ribbon.

As I cut each piece, I simply removed the wire.

I did not want to use ribbon with wire in it on dogs.

The wire pulls out fairly easily.


I made these bow ties the same way I make my nicer ones.
Here is the link to that post:

There is one difference to the way I used to make my bow ties.

Using the rubber band in the original instructions did not allow the bow ties to sit right on the collar.


Now I take a needle and thread a piece of yarn through the middle of the bow.


This way I can tie the bow tie to the collar setting the right way.


That works for me!


Well, there you go.
Now you can also spend your evenings making Christmas extras. :)

Happy Grooming, MFF