I like crafting.
I don't find a lot of time for it anymore, but I have been wanting to make something for the dogs.
I like bows, but I don't fool with them much except for Holidays, or if a customer asks for them.
We put Christmas bandannas on dogs at Christmas time, but I am not crazy about them.
I wanted something that I could put on the dogs collar.
I wanted something cute for male dogs.
So, I decided to make Bow-Ties.


Here is a step-by-step on how I made them.
What you need:
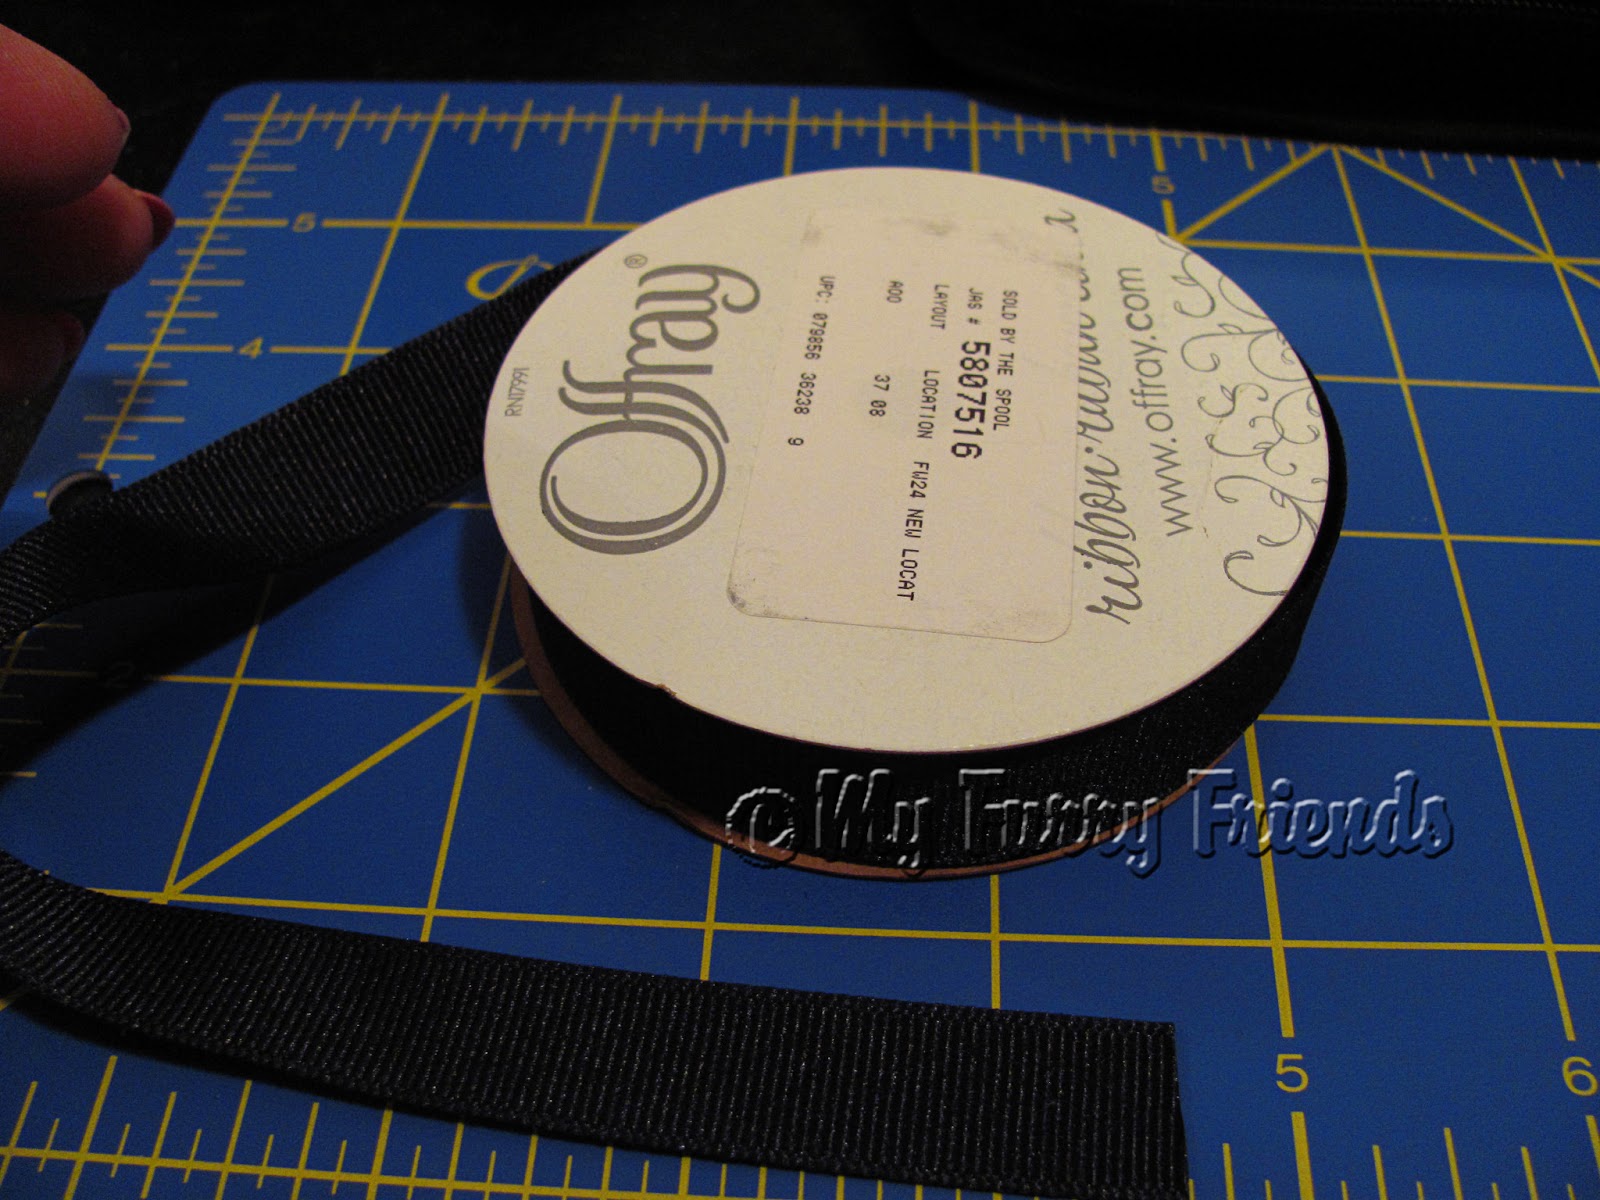
1½ inch Ribbon or 7/8 inch Ribbon
5/8 Ribbon
Glue Gun
Small Hair Bands
Ruler
For large bow-Ties I used the 1½ inch ribbon.

Step 1: measure and cut a 10 inch piece of ribbon.

Step 2: Fold the ribbon in half and make a crease at the fold.

Step 3: Unfold the ribbon and lay out flat with the design side on the bottom.
Make sure you can still see the fold line.

Step 4: Take your glue gun and put a few dots of hot glue along the right side of the fold line.

Step5: You do not need a lot of glue.

Step 6: Take the right end of the ribbon and bring the end over to the fold line.

Step 7: Press the end of the ribbon down onto the glue. Then repeat with the other end of the ribbon.

Both ends of the ribbon should meet in the middle.

Press the ends firmly to the hot glue until cool.

This is what the ribbon should look like so far.

Step 8: Pick up the ribbon and fold the middle in half, lengthwise. Fold with the meeting ends on the inside of the fold.

Step 9: Put a dot of hot glue only in the back of the fold and hold. You want to be able to lift up the front edges of the ribbon.

Step 10: Turn the bow over. This is what the front of the bow should look like at this point.

Step 11: Take hold of the top edge (over the middle fold) and fold backwards towards the front of the bow.

This is what this fold should look like.

Step 12: Put a dot of hot glue in this fold.

Step 13: Hold till glue cools.

This is what the bow looks like now.

Step 14: Repeat the last step with the other edge of the ribbon.

This is what the bow looks like now. (Don't worry about some of the glue showing, it will be covered up in the next steps.

For the next few steps you will need the 5/8 ribbon and a hair band.
Step 15: Cut a piece of 5/8 ribbon a little more than 2 inches long.

Step 16: Place a dot of hot glue on the top edge of the middle of the bow-tie and press one edge of the 5/8 ribbon to it.
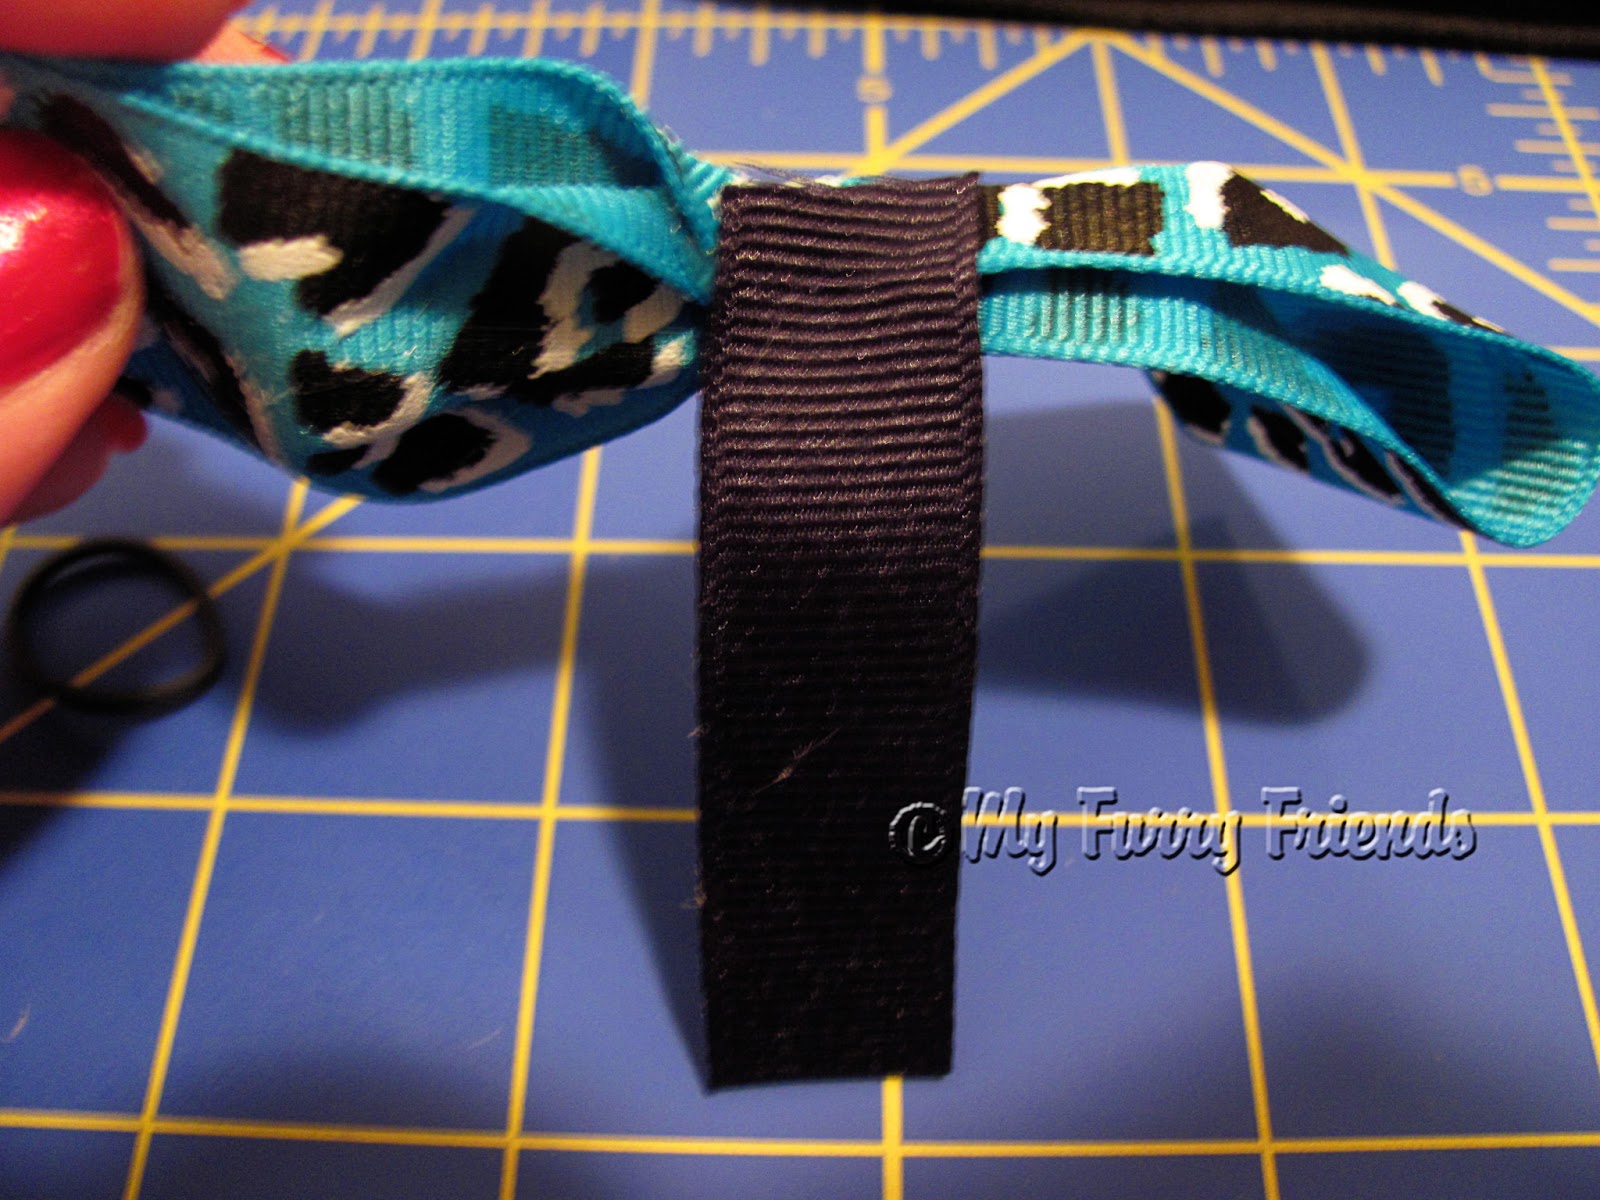
Step 17: Slide a hair band down the piece of 5/8 ribbon.

Step 18: Continue to wrap the 5/8 ribbon around the middle of the bow-tie. (Make sure the end of the ribbon stops at the back of the bow-tie)

This is what the bow-tie will look like with the hair band on the back.

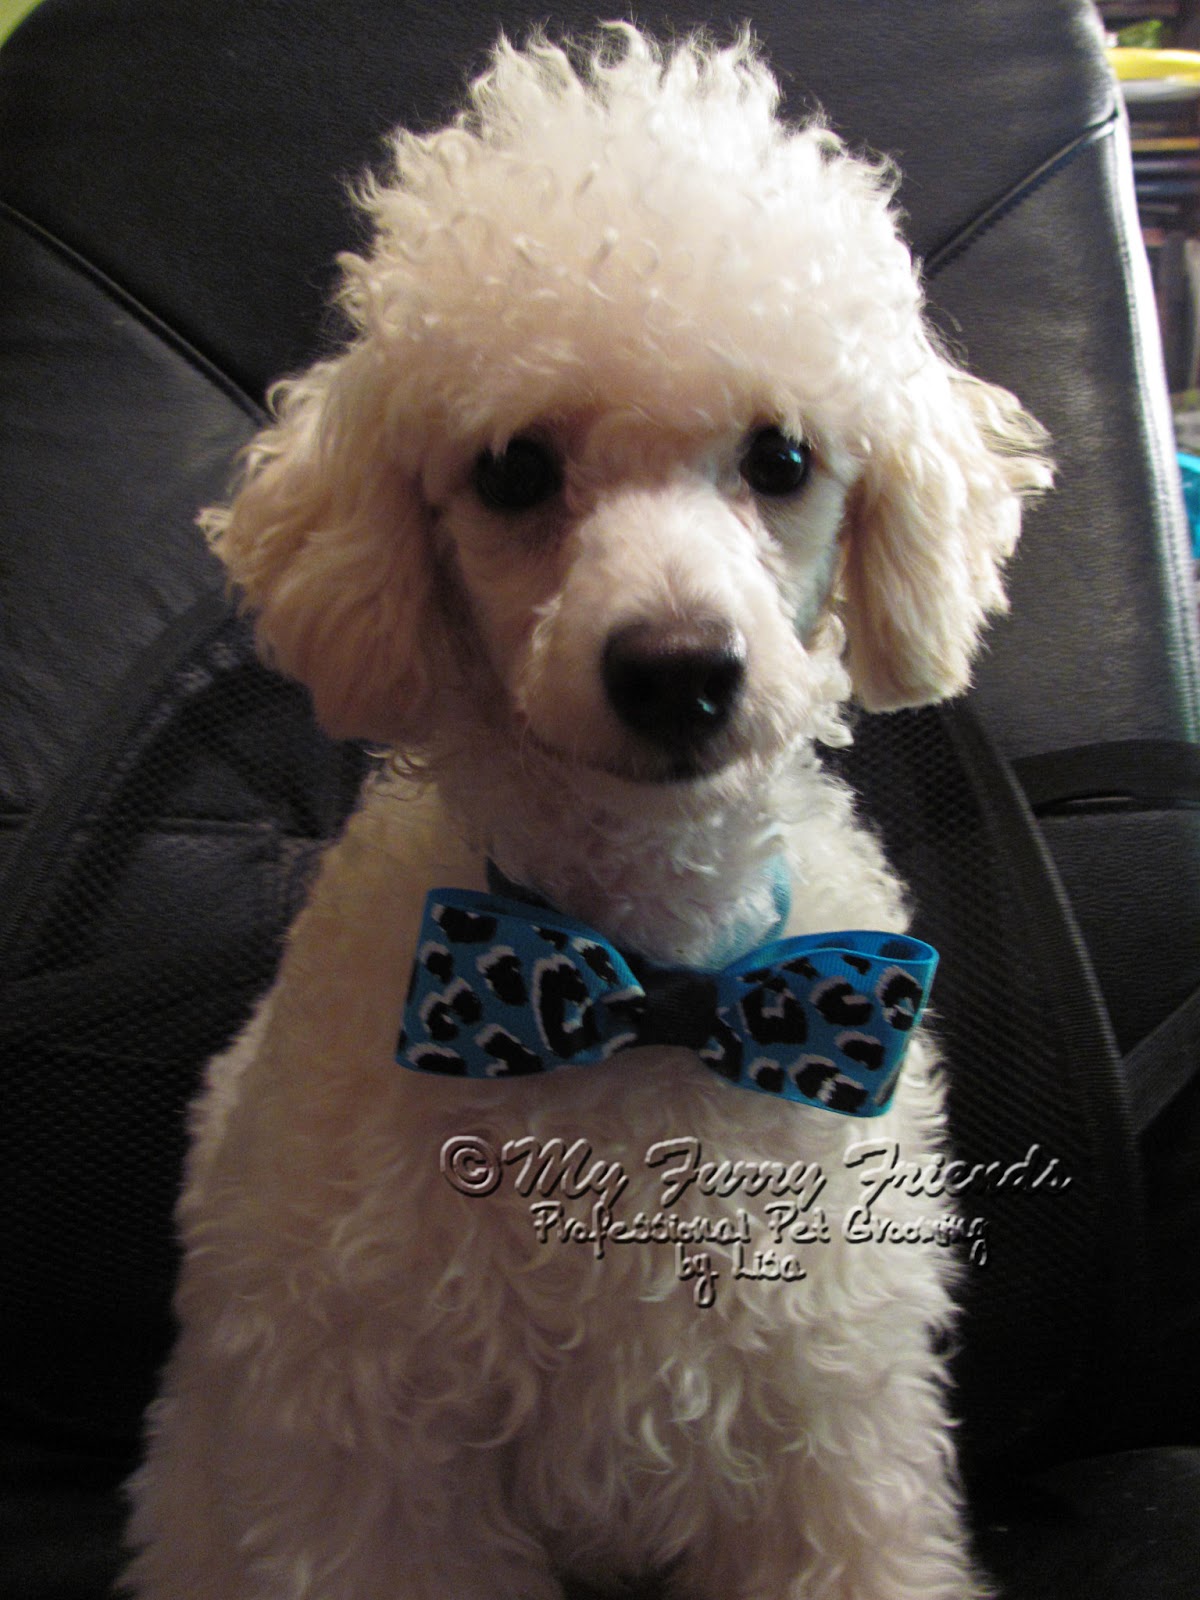
This is your finished Bow-Tie.
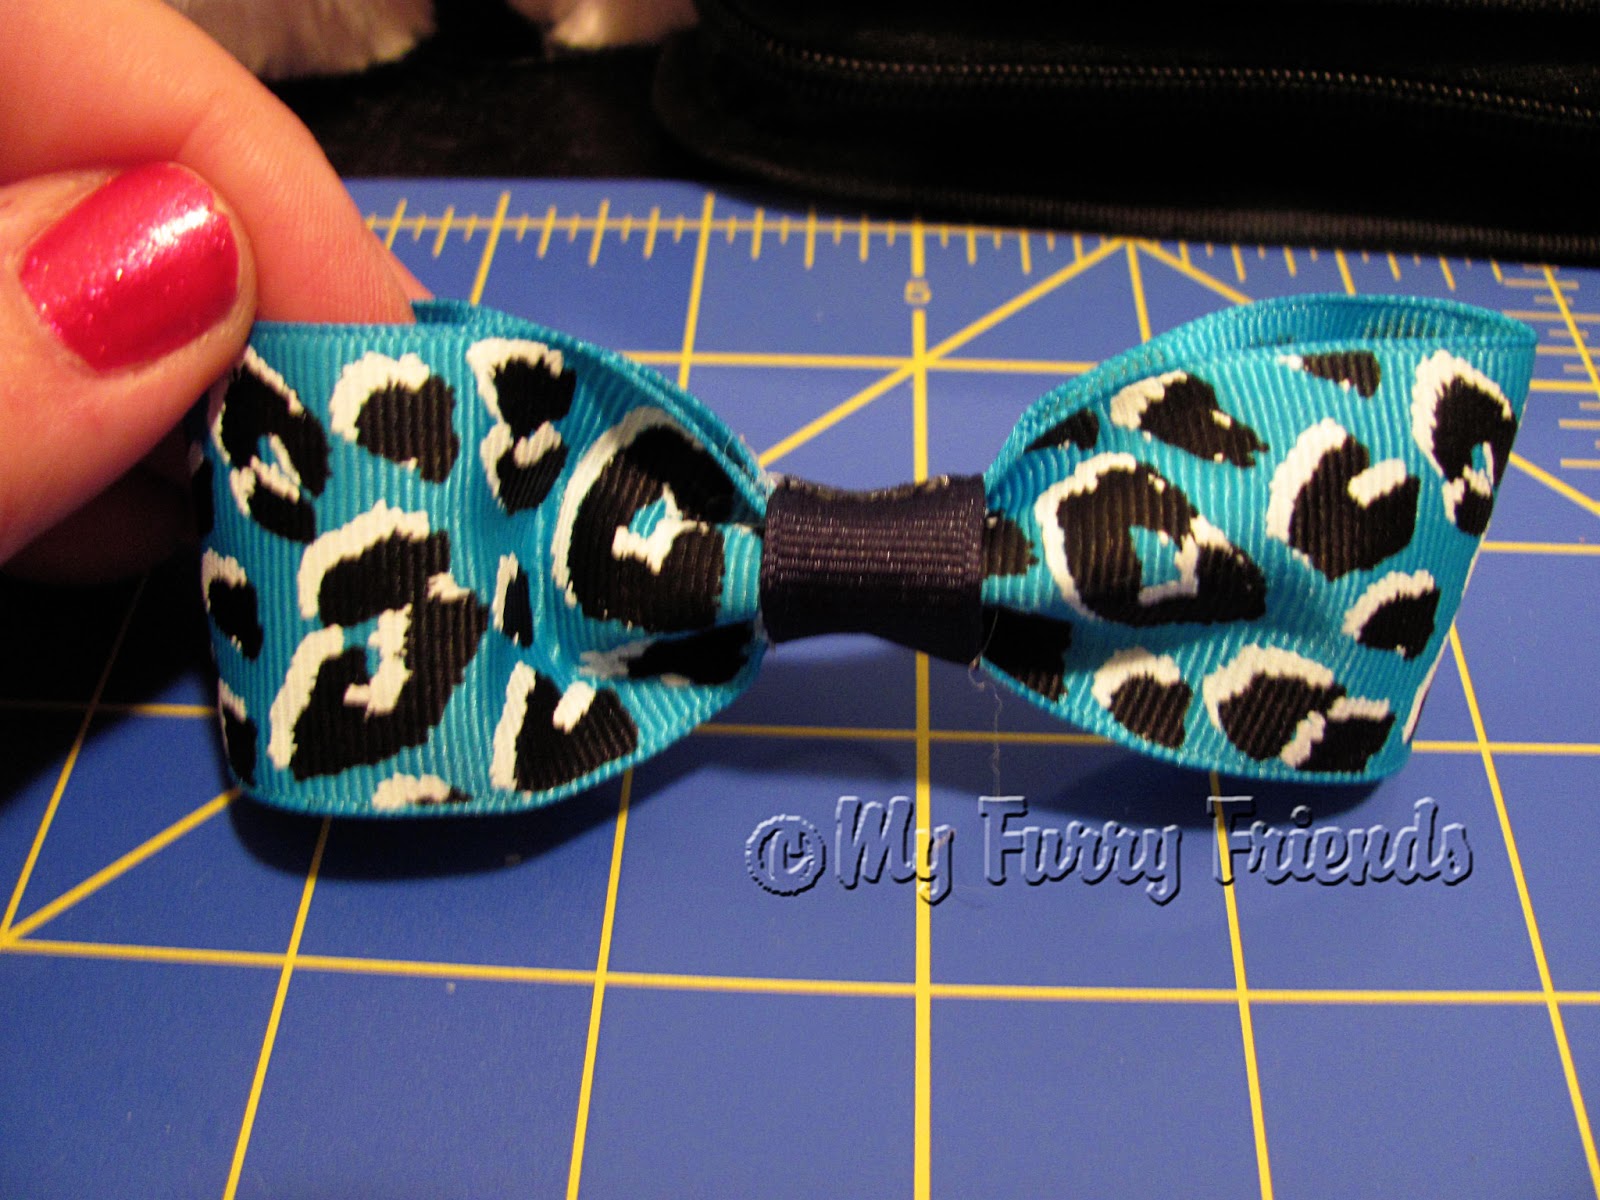
I used the 1½ inch ribbon to make the lager Bow-Ties, and the 7/8 ribbon to make the smaller Bow-Ties.
The smaller Bow-Ties were made with an 8 inch length of ribbon.

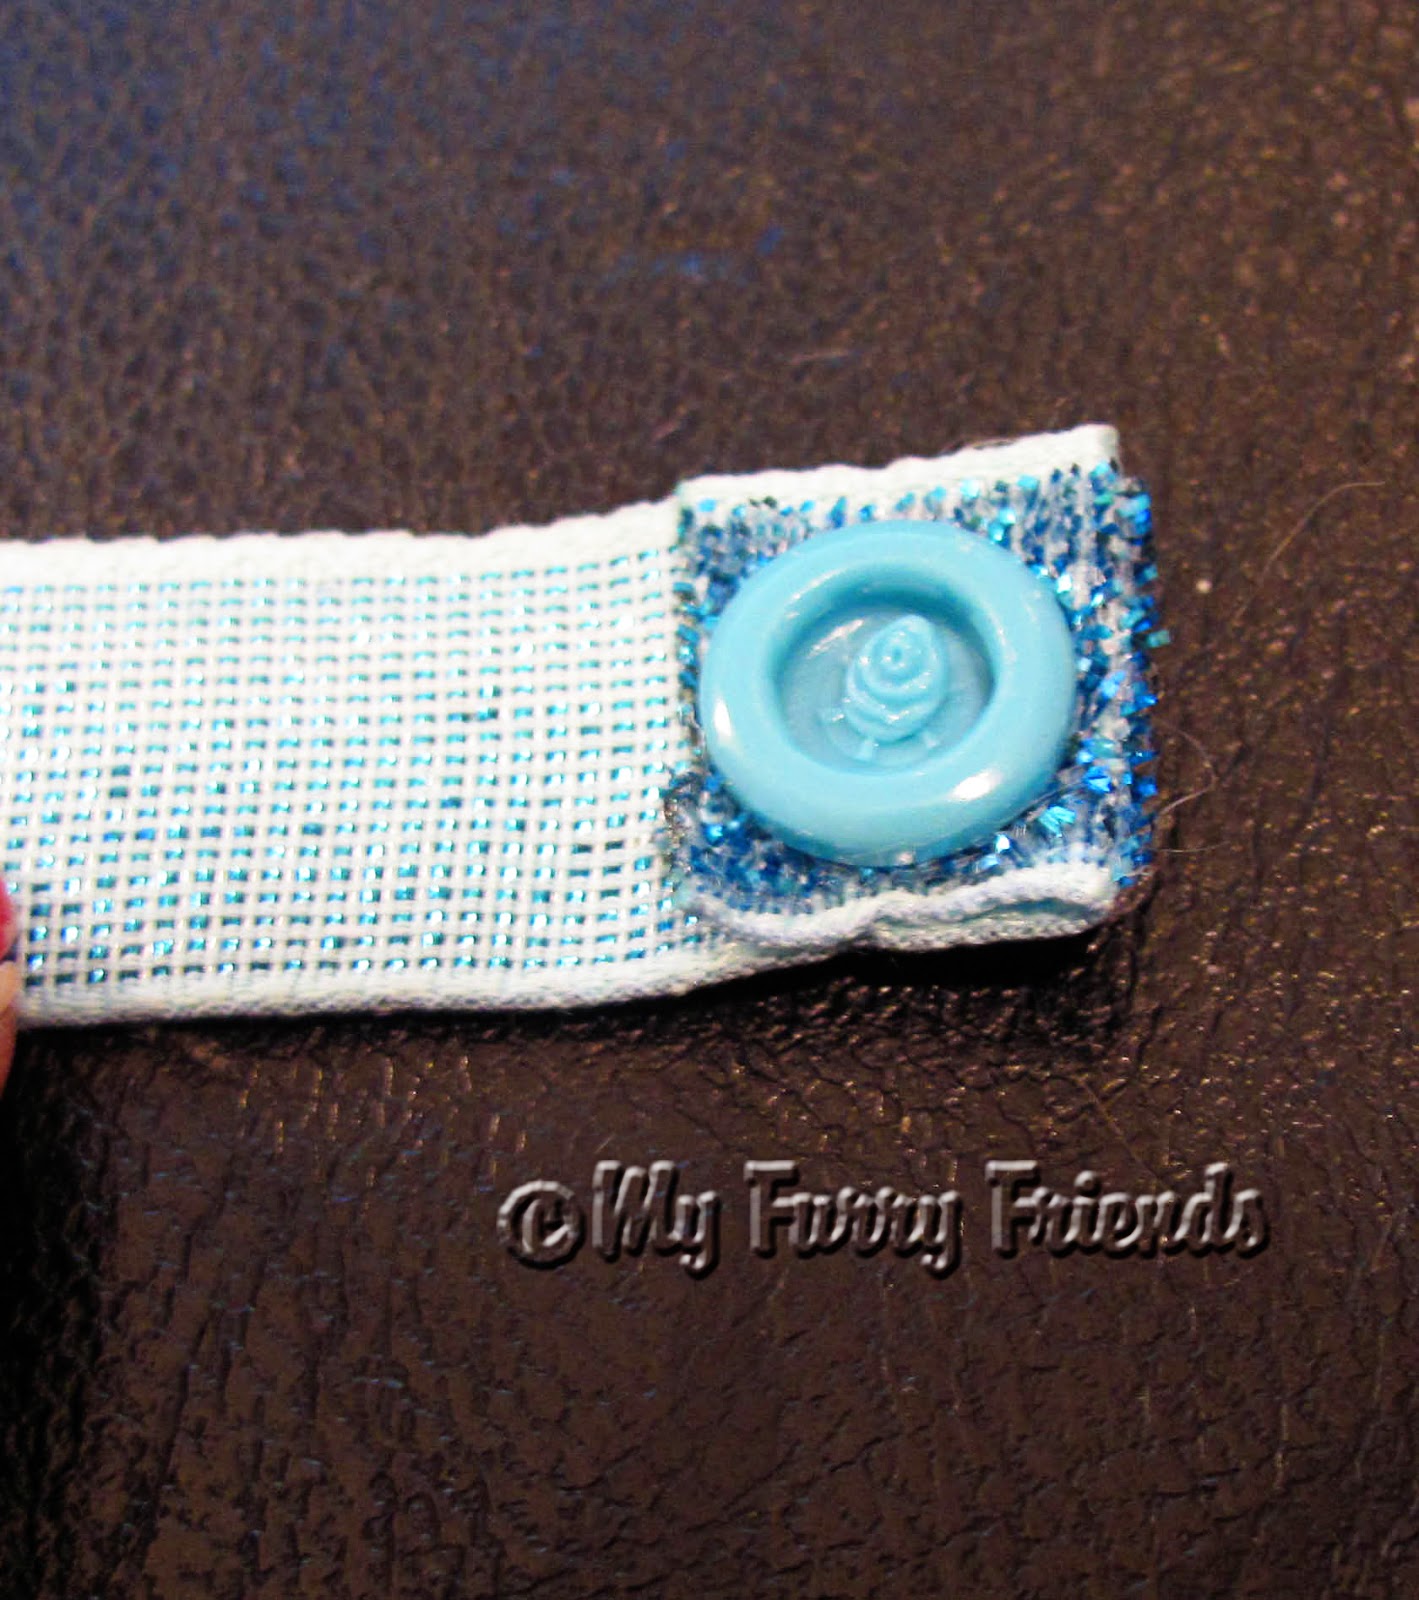
I can put these Bow-Ties directly on a dogs collar, or for dogs that come in without collars I will sew the Bow-Tie to a piece of fancy ribbon.

I use KAMsnaps on elastic ribbon for safety.
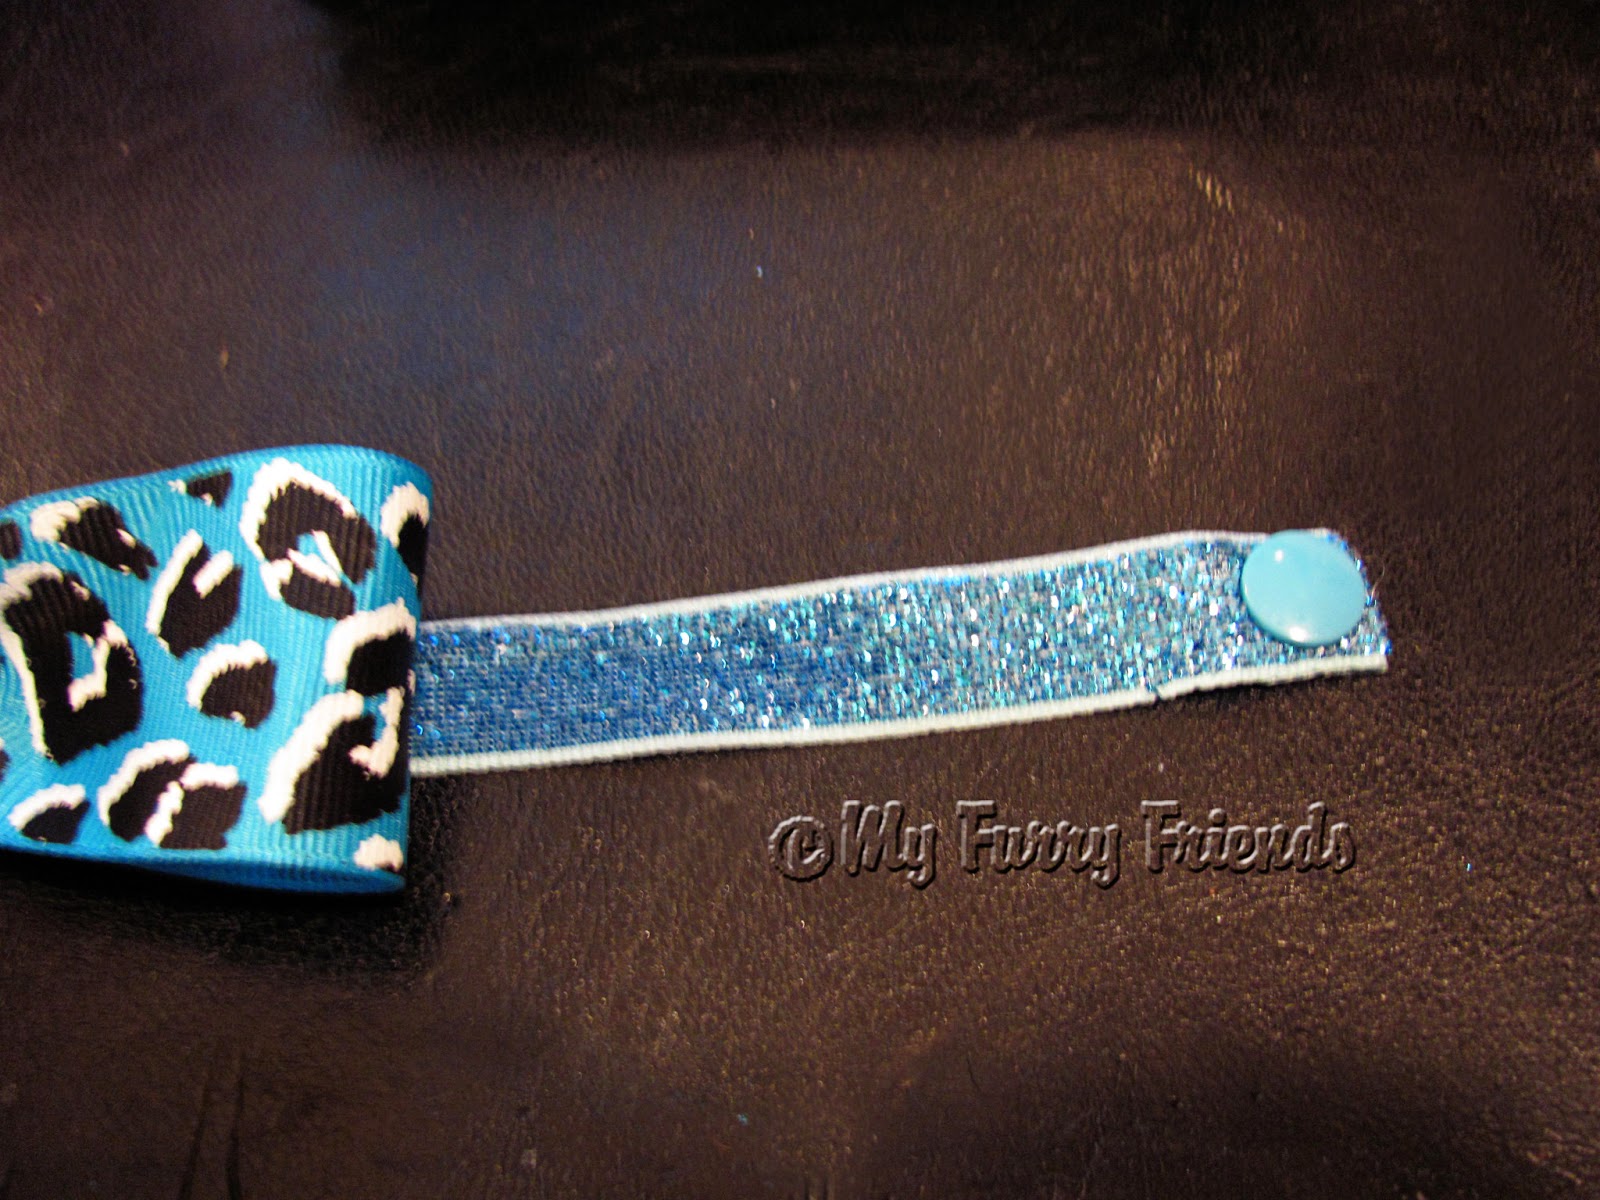
This way, if the ribbon got caught on something the dog will be able to easily pull away and get the deco collar off his/her neck.
I will also attach the Bow-Ties to some bling (stretch ribbon) in different sizes and colors.


Don't pay attention to the groomers dog, who needs a grooming. Just look at the Bow-Tie. :)
Have fun crafting!!
✂ Happy Grooming, MFF ✂
You need a pinterest button so I can save all these neat ideas!!
ReplyDeleteLOL
DeleteThese are so cute! This is my first time commenting and I'm very new to the dog grooming world. Your blog has been so helpful. Thank you!
ReplyDeleteGlad I could help Tiny Kitty! :)
DeleteLove the ribbon and love the idea! ! I make a TON of bows and always try to get "masculine" printed ribbon. Yea I know "masculine ribbon" doesn't really help but hey I tried lol. But now I know how to make bow ties!! Thanks for posting the steps!
ReplyDeleteHi Christina,
DeleteI have so many male dogs that I groom that would look so cute with these. Glad you like them. :)
Lisa, MFF
Those are so cute! I want to make some now and easy enough!! Even though little elastic bows are so cute on girl dogs we think they are too hazardous. Maybe a little wider ribbon might make a girl version of your bow tie.
ReplyDeleteHi Carolyn,
DeleteI have flower bows for the girls collars!
I have run into how to make ties for boy dogs. So darn cute. Thank you for your idea for bow ties. Ruth
ReplyDeleteHi Ruth,
DeleteEnjoy making them!
Oh my heavens! I love these. I have been trying to figure out bow ties (without much effort or success) and these are going to be perfect! Thank you!
ReplyDelete:)
DeleteThese are so awesome! Thank you! I can't wait to try these out. I've been trying to figure out what to do for the fuzzy male clients :) I was wondering though, with the hair band laying horizontally with the ribbon, how do you keep the bow tie from turning in the vertical position on the collar? Thanks! :)
ReplyDeleteHi Kasi,
DeleteYes, I discover that problem after I made the bows. Now when I make them I attach a piece of ribbon to the middle of the back of the bow-tie. The piece of ribbon is just long enough to wrap around a collar. I also attach Velcro to each end of the piece of ribbon to hold the bow-tie on the collar. Liquid Stitch is great for this....no sewing. I need to edit that post. :/
Lisa, MFF