I have been busy making the Christmas extras for my furry customers this Christmas.
The past few years I have cut bandanas out of Christmas material.
I have also made Christmas ear bows.
I wanted to do something a little different this year.
So I went shopping.

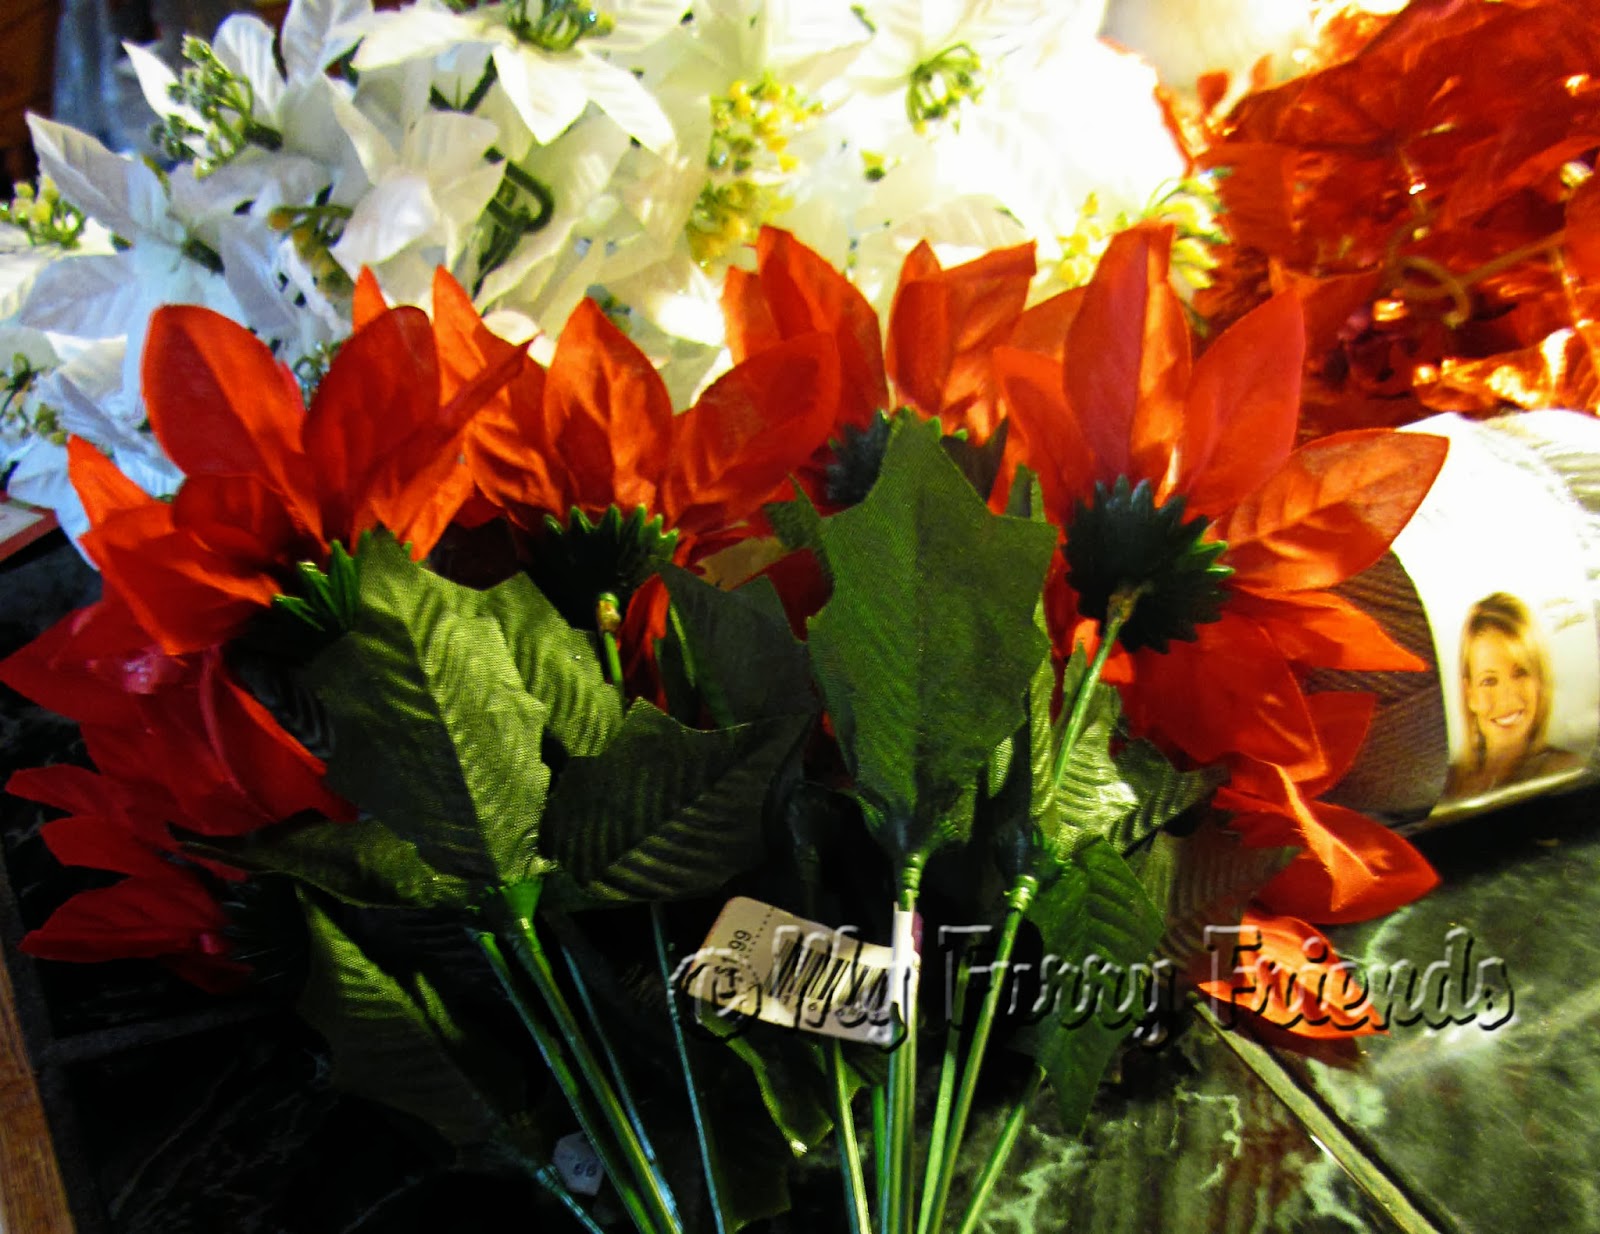
I bought poinsettias.
Red, white and silver.
I got some nice ones from The Dollar Store.
Then I found garland chains of poinsettias from Jo-Anne Fabrics.
The garland was the best buy, because they were 40% off, and there were a ton of flowers on each chain.

While at Jo-Anne Fabrics, I also bought Christmas Fabric that was on sale for 50% off.
I didn't want to make bandanas again.
I wanted something different.
I knew what I wanted to make, but I didn't want to get involved with sewing.

Then I discovered this.
Liquid Stitch.
I could make collar scrunchies without having to sew.
What are collar scrunchies?

They are tubes of material to put over collars.

You insert the collar into the tube of material.

The material is longer than the collar, so it scrunches up.

The collar scrunchies cover up dirty and/or old tattered collars.

Cut a 5 inch by 24 inch piece of material.

Run a thin line of the Liquid Stitch along one of the 5 inch ends, on the back side of the material.

Fold the edge over to make a nice hem.
Press firmly.
This will be a little messy, because some glue will seep through the material.

The glue sticks pretty quickly, but not so fast that you can't make adjustments if you need to.
This is what the hem will look like.
Repeat on the opposite end.

After each end has been hemmed, flip the material over.
The design on the material should be showing for this step.
Place a thin strip of Liquid Stitch along one of the long edges.

Fold the opposite edge over so that the two long edges meet evenly.
Press the edges together firmly.
Do not worry if the edges do not line up perfectly.
This will be the inside seem and will not show.

The glue needs to set for 24 hours before you move on the next step.
A yard of material makes about a dozen 5x24 collar scrunchies.

After the glue has set, it is time to turn the scrunchies right side out.
Start by flipping the edge over.

I use a long knitting needle to turn the tubes right side out so that my glued seem will be on the inside.

After I have flip the edge over, I slide the end of the knitting needle up under the flap.

Then pull the edge of the material down over the needle.

The needle will come out the other end of the tube once all of the material has been turned right side out.

You now have a nice tube of material with a nice seem and hemmed edges.
Time to cover a collar.

Place one end of a collar in the tube of material.

Work the collar through the tube.

The material tube is longer than the collar, so you will have to scrunch up the material to feed the collar all of the way through.
This is what the collar should look like.
The 5x24 inch scrunchies will fit most small to medium size collars.
I make a few 5x32 inch scrunchies for large dog collars.
I tested these scrunchies on my dogs collar to see how long they held up.
I was a little worried about the Liquid Stitch.
I was afraid that the seem might come apart.
The seem held up great.
The scrunchie stayed nice looking for a several weeks.
I have also made flower collar bows for Christmas.
As I stated above, I bought artificial Christmas poinsettias for my collar bows.

I decided that I did not want to use rubber bands to put the flowers on the collars like I have in the past.
The rubber band has broken so many times while putting the flower on the collar, then I have to pull out another flower.
I decided to use yarn in stead of a rubber band.
I bought a neutral light gray colored yarn that had a sliver of silver running through it.
I also found a needle with a nice big eye to feed the yarn through.
I also use red, sliver and gold Mardis Gras beads.

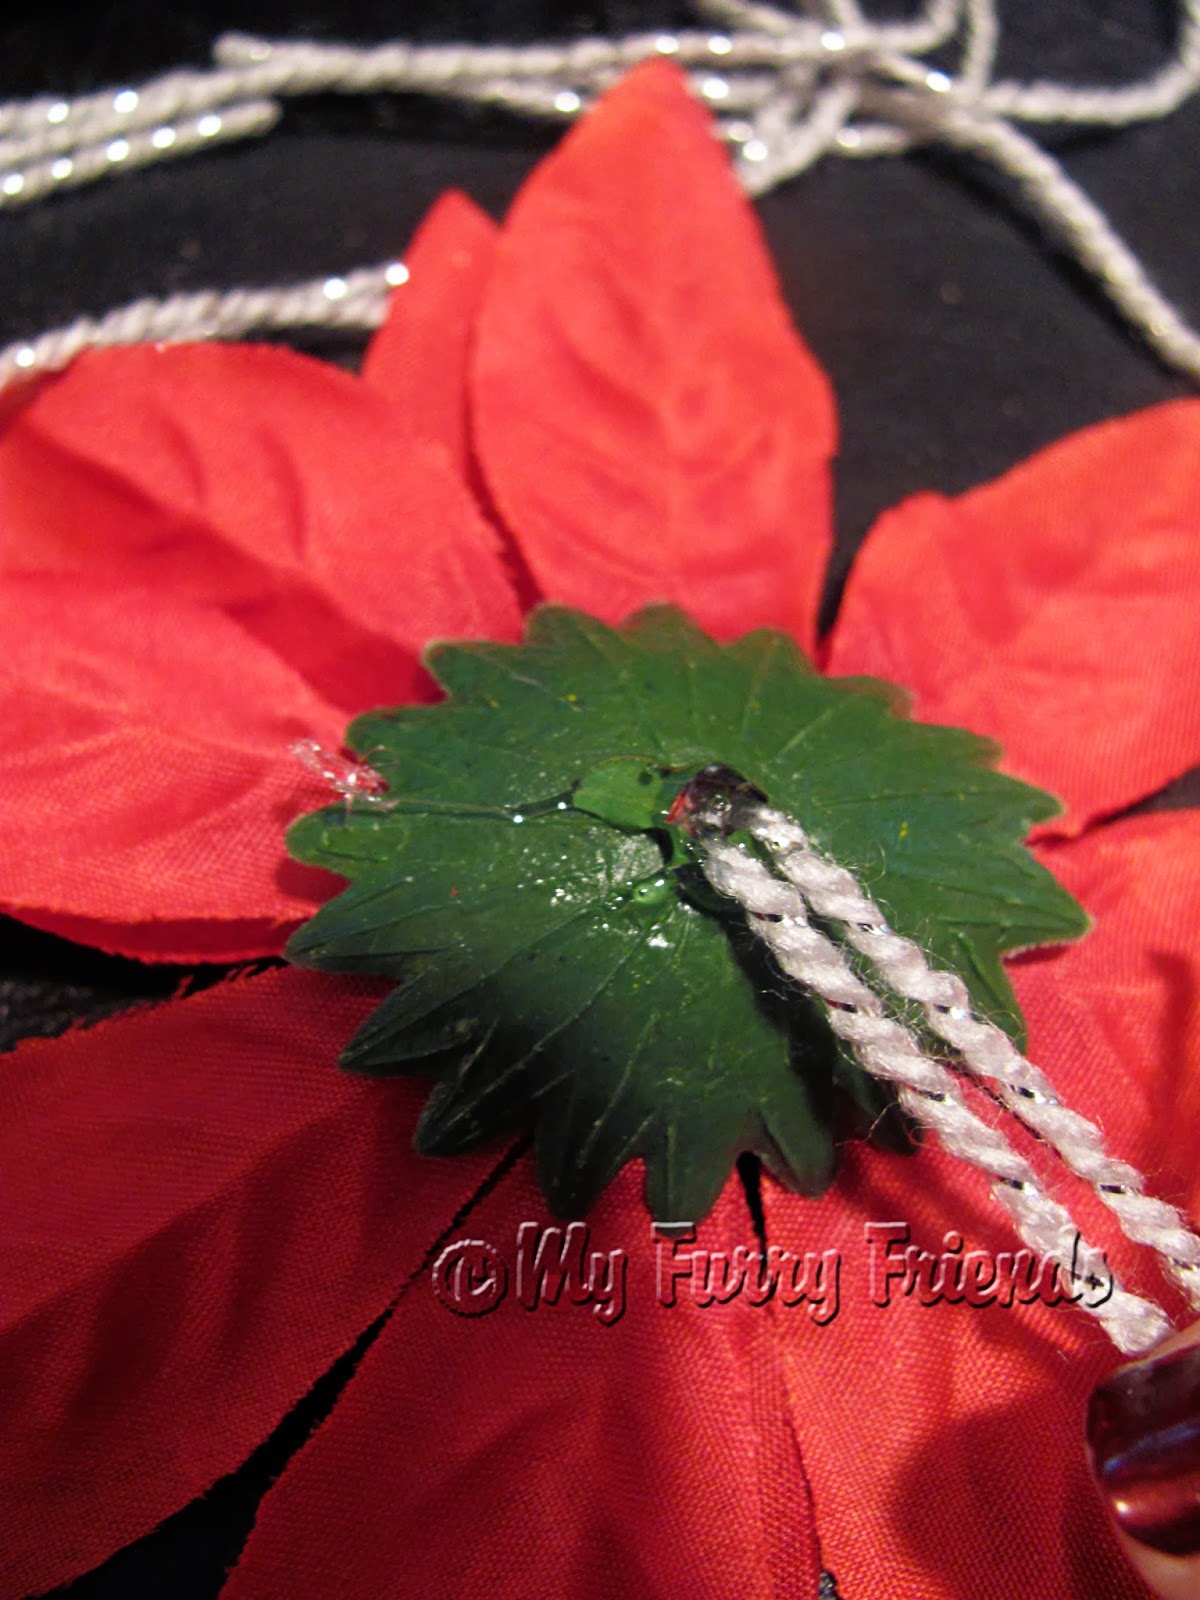
First step, pull the flower apart.
If there is a back stem piece to the flower, pull it off.
Then pull the inner stem out.

You want to get rid of the inside stem piece.

If the flowers you are using has a back stem piece, (the garland flowers don't) place a couple of dabs of hot glue on the inside of the stem piece.

Place the back stem piece back on the back of the flower.
Got that?
Make sure that you line up the holes in the flower with the hole in the stem piece.

Now, feed your needle, with a 5 inch piece of yarn, up through the back of the flower.

Then feed the needle back down through the hole again until you have a loop left sticking out of the top of the flower.

This is what the back of your flower will look like.

Go back to your loop in the front of the flower.
Take the Mardis Gras beads and place them in the loop.
You can cut two, four, or six bead pieces.
For this flower, I am using two four bead pieces crisscrossed over each other.

Once you have the beads in place, pull the loop down to lock down the beads.

Turn the flower over and tie off the yarn with a double knot to lock the beads in.
Once the knot was tied, I placed a dab of hot glue on top of it to make sure that the yarn would stay in place.
Use the two long pieces of yarn on the back of the flower to tie it to the collar.

This is one of the flowers finished.
This flower was from the dollar store.
Each dollar bunch of flowers had about 8 to 9 flowers on it.

This is another collar flower.
I like this one better.
These were the flowers off of the garland chain from Jo-Anne Fabrics.
The flowers are better quality.
For this flower, I used one red poinsettia and one white. (I also have silver)
I also choose to use a two red bead section and a four gold bead section.
Use your imagination.
You can make so many different combinations.
The collar flower bows are very easy and fast to make once you get the hang of it.
Now, the scrunchies are great for both male and female dogs.
The flowers are great for female dogs.
I have one other thing that I made for male dogs.
SEE, this is why I have not been blogging much lately.

I have also been making Christmas Bow Ties for the male dogs.

Because these bow ties are just for the Holidays, I bought the cheaper holiday ribbon to make these.
The cheaper ribbon comes in so many holiday colors and designs.

The ribbon that I bought is wired ribbon.
As I cut each piece, I simply removed the wire.
I did not want to use ribbon with wire in it on dogs.
The wire pulls out fairly easily.
I made these bow ties the same way I make my nicer ones.
Here is the link to that post:
There is one difference to the way I used to make my bow ties.
Using the rubber band in the original instructions did not allow the bow ties to sit right on the collar.

Now I take a needle and thread a piece of yarn through the middle of the bow.

This way I can tie the bow tie to the collar setting the right way.

That works for me!
Well, there you go.
Now you can also spend your evenings making Christmas extras. :)
✂Happy Grooming, MFF ✂
This is wonderful! I might get myself to Joanne this weekend for supplies. You're the best!
ReplyDeleteI love the collar scrunchies. What a great idea!
ReplyDeleteThe last picture of the pup makes him look like a Bond villain haha
ReplyDelete